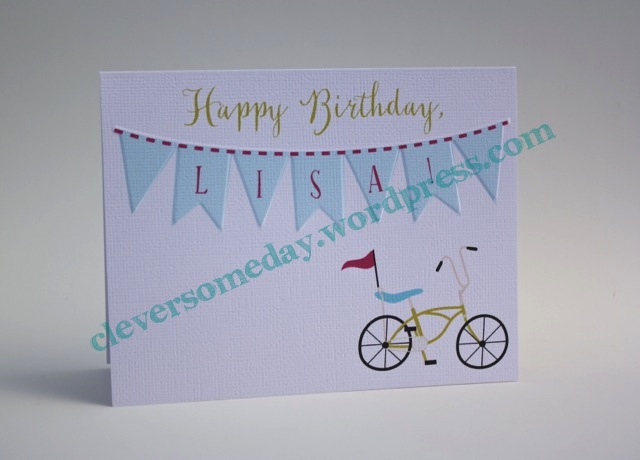
Its been over 3 years since I first tried matching print files to embossing folders and it was such a pain that I left it alone after that. But now that Darice is publishing nice black and white previews of their embossing folders, I decided to brave it again. Each of these is a lot of work up front, but once the template is done, you can crank out a lovely, customized card in minutes.
The Banner folder from Paper Studio (Hobby Lobby house brand) is so versatile, and I love using it with this technique. Graphics are from the Bicycle Craze collection by Lettering Delights.

Here are a few more I made with the same folder while I was experimenting
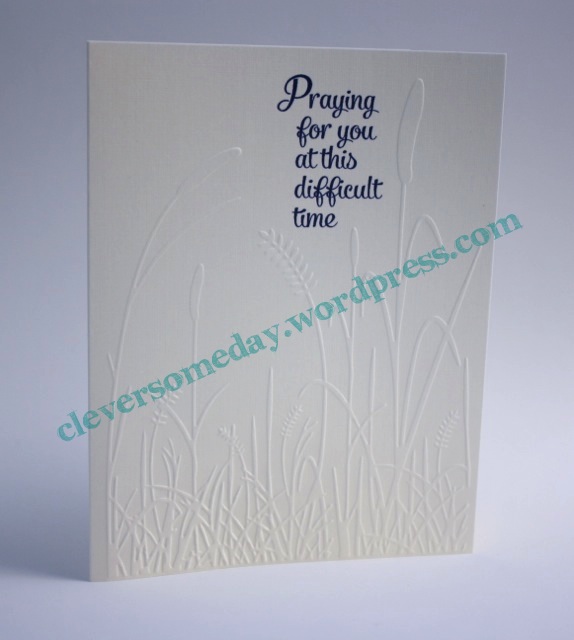
You can make a simple template just for positioning text between embossed areas, as I’ve done here with the Darice Grass folder and still get a stunning look.

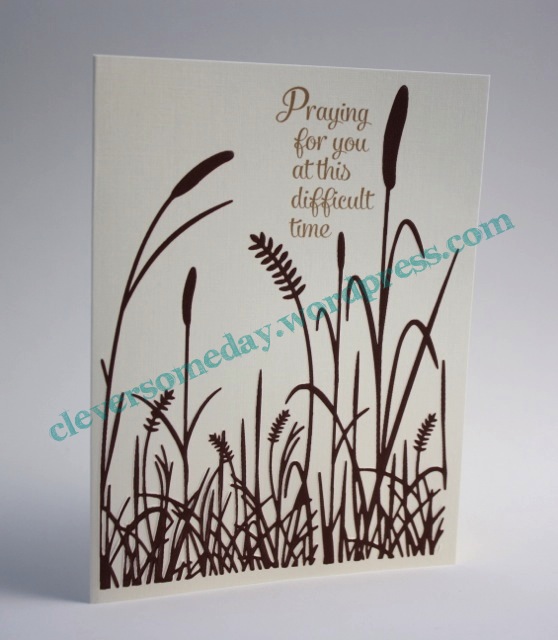
Or you can go all out and print the entire embossed area like this. The photo just does not do this one justice, but even so don’t expect 100% perfect results because the paper deforms as it goes through the embossing process.
Changing colors only take a few clicks.
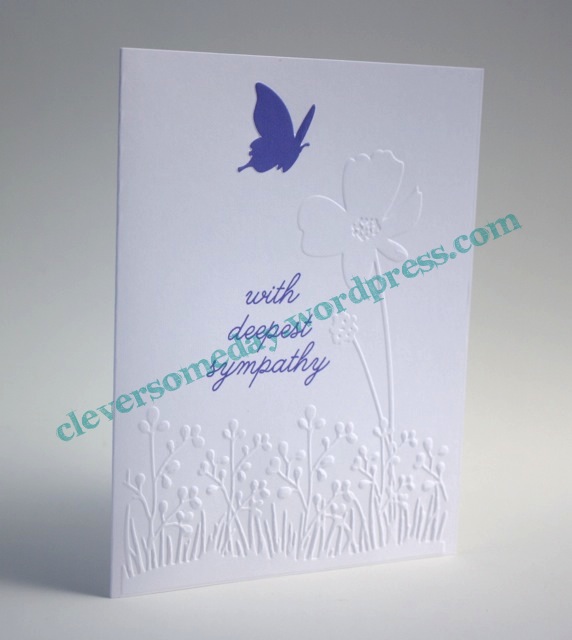
Once you have a template, you can pick out just one key element to print if you like, as I’ve done here with the Darice Butterfly on Flower folder.

I used the same idea here, with the Darice Bird on Branch folder except that I used the sketch tool in Silhouette Studio to give the bird a hand drawn look.

And I think this card I made with the Darice Boot Tracks folder is my favorite. This is an unusual, inverted folder so the boot prints are indented instead of raised. Wouldn’t this be great for Operation Write Home?

I will be my sharing templates soon, but wanted to go ahead and get this posted, so please check back. And if you can help me spread the word with a pin, tweet or FaceBook post, that’d be most appreciated.
Update: tutorials are here!


I can’t wait for the tutorial as well. I just invested in a bunch of Darice EF’s including the woodland one, I am just wondering how you get the embossing folder image into silhouette to trace then print. Then, of course is the measurement which will place the embossing exactly under the printed version to pop up the colored bits. Anxiously awaiting more on this Kay, you are a genius.
This is one of the greatest ideas since sliced bread! I have been playing with the one Darice folder that I own. It is a lot of work, but so very cool when done. Am still having issues with the exact size of the embossed area. Can’t wait for your tut. Thank you, thank you, thank you for sharing!
Ok, for the past few days I’ve gone back and forth reading and rereading on how to do this. I would live to see a video on this. This looks fabulous and can’t wait to try. Thank you for your site I can’t tell you how much you’ve helped me.
I just got my first bunch of Darice folders. I’ve been trying to do this, but, I can’t seem to get the size of the print very close to what the embossing folder is. I hope that you’re still planning to do a tutorial.
Thanks Kay–Yes I have been following your efforts on this—I think I had left a comment some time back but not finding any usable image for the one I did was a challenge. I have several Darice folders with saved images so that should be a lot easier now esp with pix scan mat.
You’ll be disappointed to know that I do the sizing from the Darice images by trial and error. If you use an actual folder, its easier to size but harder to trace. A scan of the actual folder impression (inked or by rubbing with pencil) saved as jpg or imported via the scan function will already be the right size or very close. I don’t really see where PixScan is going to work any better for this, though I have been looking forward to trying it for cutting out a embossed image from the page.