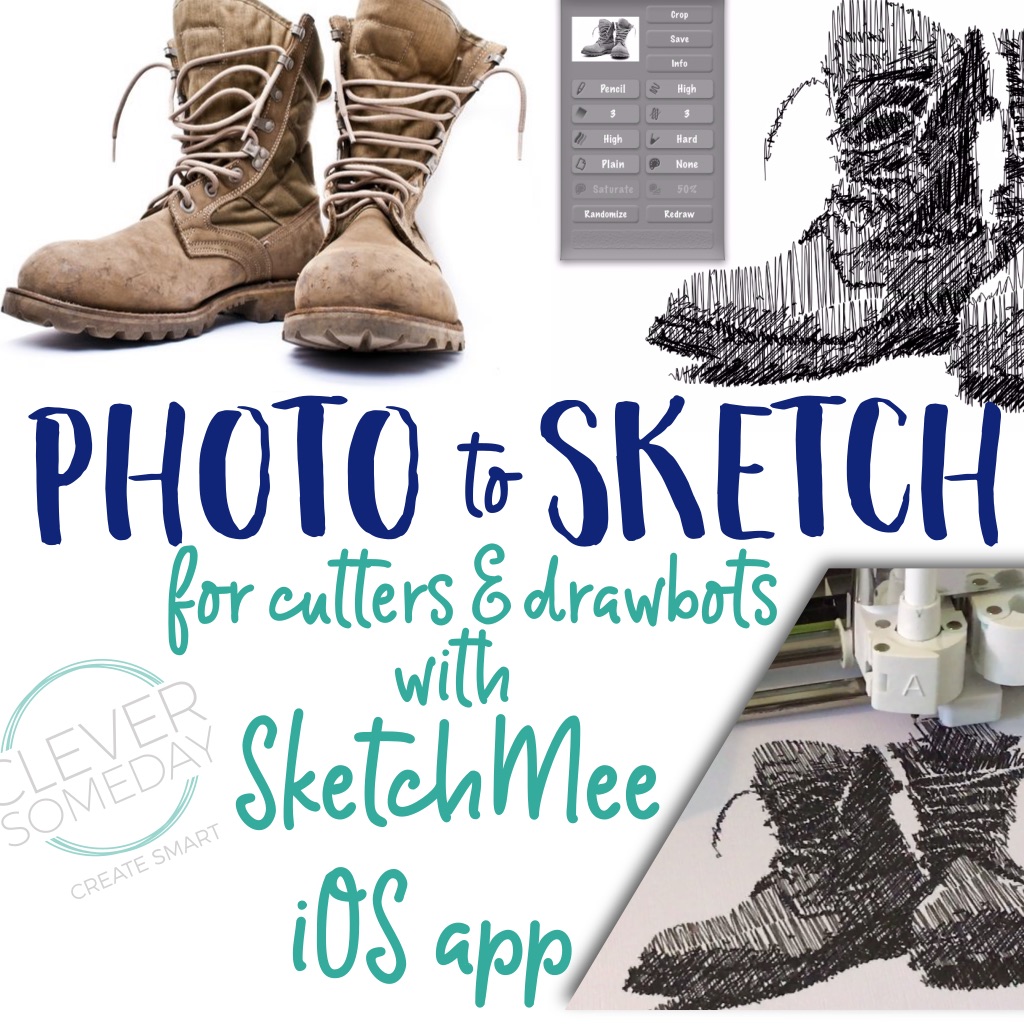
Several years ago, the SketchMee app was brought to my attention, and I’ve been enjoying it for my personal projects, but had to use Adobe Illustrator or other techniques to translate it into a drawable SVG. Recently I stumbled on the solution for using Inkscape and am happy to share it with you now.
This flow chart shows the process involved. I wouldn’t call it quick and easy, but I would call it worth it.

I’ve made multiple detailed videos, and also include a short summary of the steps below.

Part 1 – Sketchmee to PDF
The first video explains which app to download, and how to convert your photos with the app to a PDF. It applies to all diecutters and pen plotters.
-Download SketchMee Lite HD for iPad or SketchMee Lite for iPhone and iPad.
-Import a photo from the the Camera Roll on your mobile device.
-Apply the following settings
Technique: Pencil
Shades: 3
Overlap: 3
Intensity: High
Tip: Hard
Paper: Plain
Paper Color: None
Detail: (adjust to taste, lower settings are faster to draw)
Redraw for variations
-Email PDF to yourself ($3.99 PDF Export upgrade required)
Part 2 – PDF to SVG
The second video explains how to take that PDF and convert it into sketchable layers with Inkscape. It applies to all diecutters and pen plotters that can use SVG input.
-Open PDF in Inkscape
-Select image and ungroup twice
-Delete outline
-Select an individual path
-Edit>Select Same>Stroke Style
-Change stroke color temporarily to review results (and for Cricut users, note layer differences)
-Path>Combine (for Cricut; or optionally, Object>Group for other cutters)
-Repeat for remaining line widths
-Save as SVG
Part 3C – SVG to Cricut Drawing
The third video is for Cricut users, and explains how to import the SVG into Cricut Design Space, and how to choose and set the pen layers for writing with a Cricut Explore, Explore Air or Maker.
-Import SVG to Cricut Design Space
-Resize as desired
-Create a rectangle to represent your frame, set it to score, and position your image inside it as desired
-Select all and Attach
-Set the light layer to write with “Black 0.3 Tip”
-Set the medium layer to write with “Black 0.4 Tip”
-Set the dark layer to write with “Black 0.8 Tip Glitter”
-Run the file, beginning with no tools installed, to perform the “air score” step. Watch to confirm proper positioning on paper.
-Respond to pen prompts as follows (won’t necessarily be in order) and continue until complete
at the “Black 0.8 Tip Glitter” prompt install your chosen dark pen
at the “Black 0.4 Tip” prompt install your chosen medium pen
at the “Black 0.3 Tip” prompt install your chosen light pen
Recommended pens for Cricut
Black/Gray
Pitt Artist pens in XS, S, F and M (Note that the photo is correct, but the description is incorrect at both Amazon and the Pitt website.)
Zig Millenium or Pigma Micron pens in adjustable marker holder from Chomas Creations (important: pen barrels must be the same diameter and thumbscrew must be oriented the same each time to ensure that layers line up with each other.)
Bic Markit UltraFine (set of 36 includes black and two greys) in 3d printed pen holder from KidSharp
White
Gelly Roll pens (05, 08 and 10 from markersupply.com) in 3D printed holders from FlywheelIT
Part 3S – SVG to Silhouette Drawing
Unfortunately, I am having to withhold the Silhouette tutorial at this time because of an unexpected change/bug in the way sketch files are rendered in the current versions of Silhouette Studio. I will post as soon as this is resolved or when I am able to find a workaround.
Free Sketch Files
(video 3 above will show you how to use these with the Cricut)
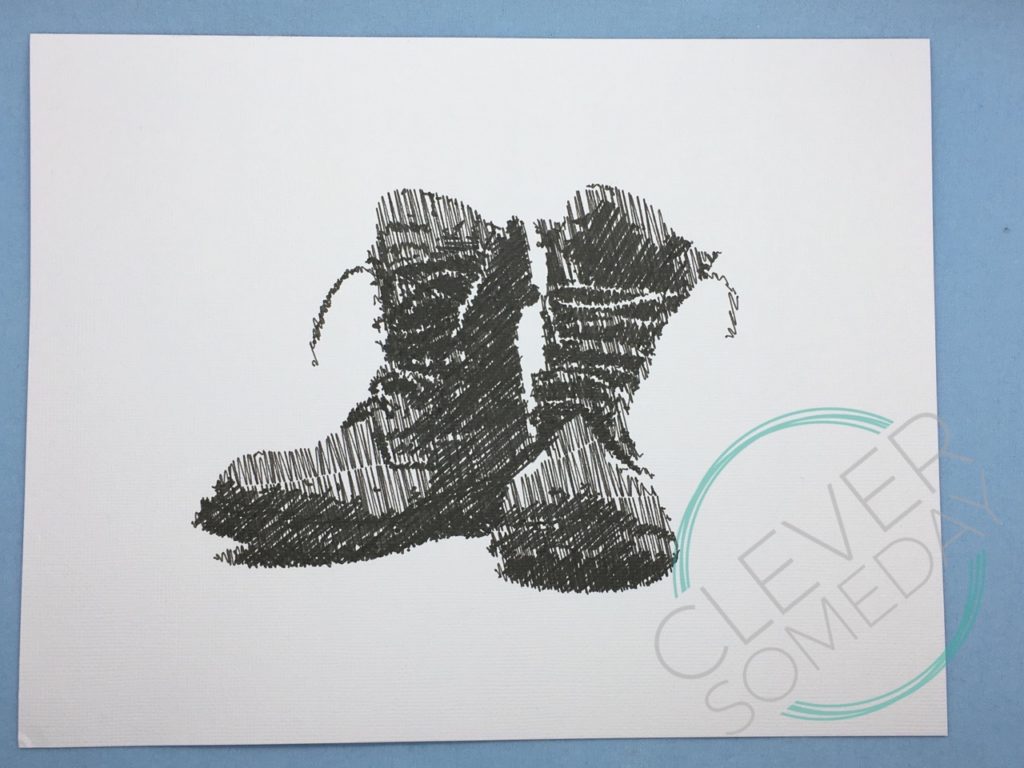
Army Boot |.svg |
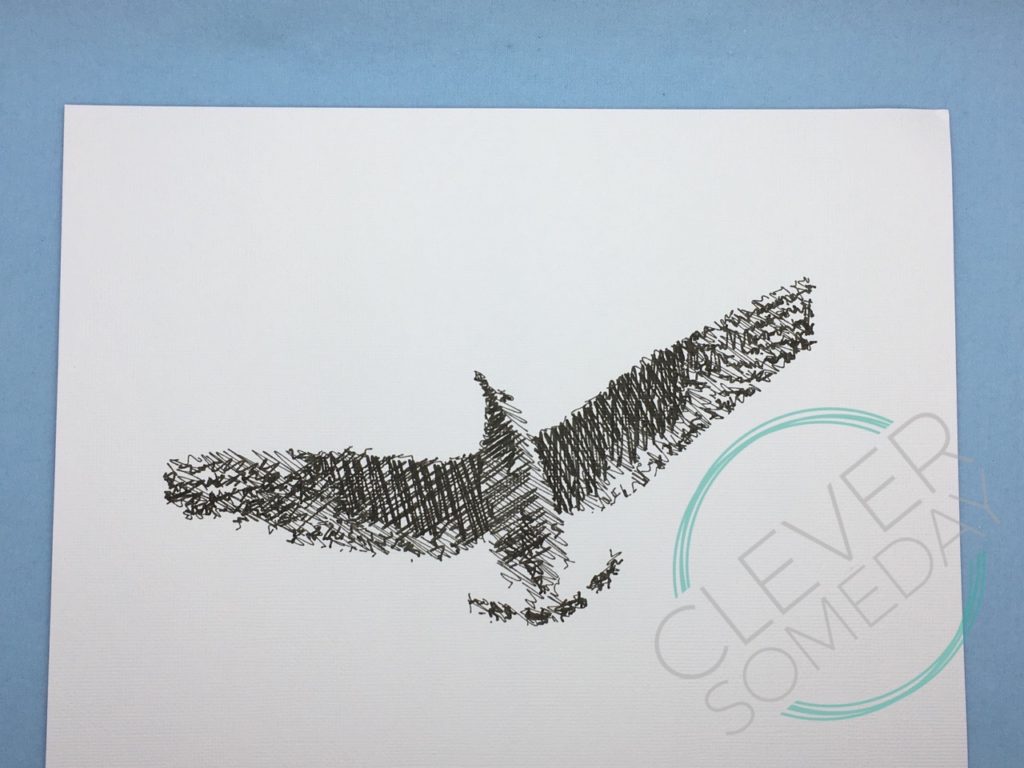
Seagull | .svg |
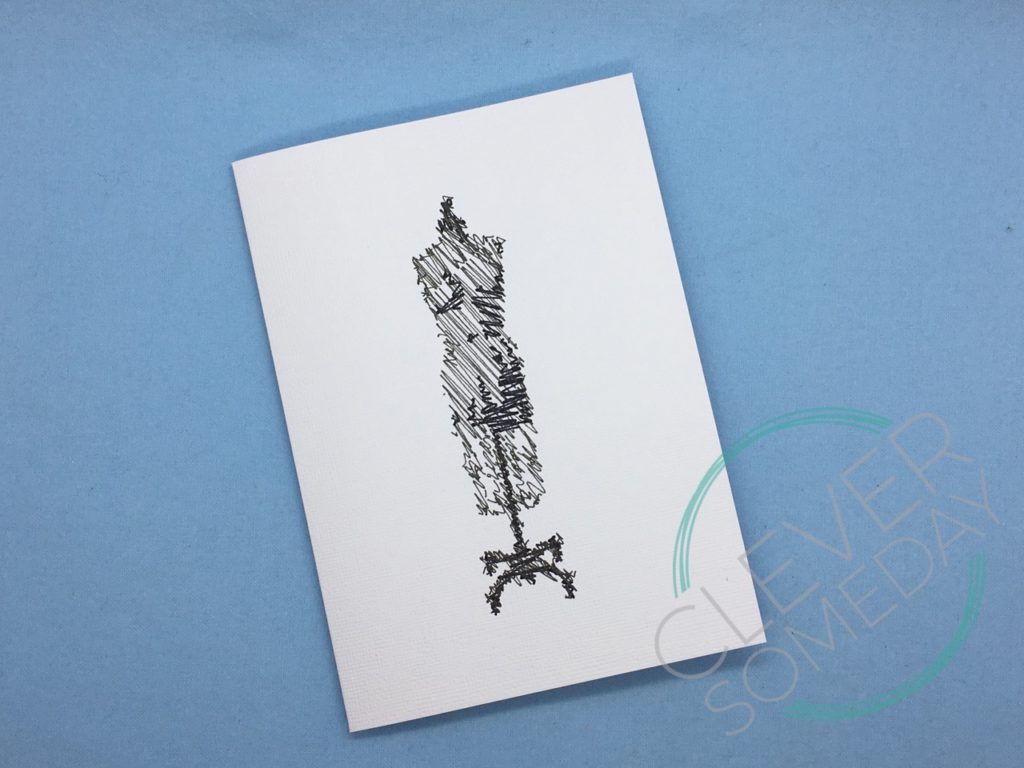
Dressform | .svg |
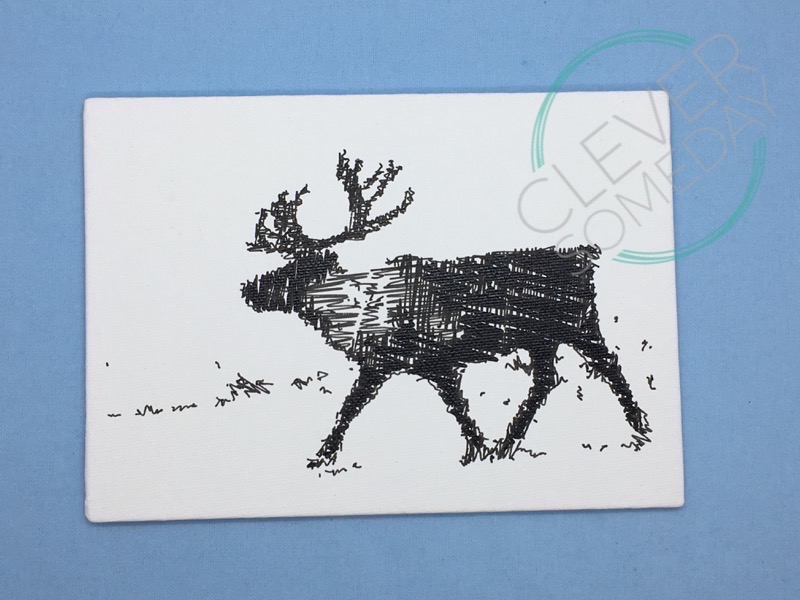
Reindeer | .svg |

What a shame about the silhouette problem……I was keen to try it out until I got to that part. Hopefully it will soon be ironed out. Very interesting app…off to download it now.
Hi, I absolutely loved the tutorial however I only have android 🙁 do you have any suggestions for an alternative to sketchmee? Many Thanks! Laura
Unfortunately I do not.
FABULOUS use of inkscape_love the sketch idea and result. “Someday” has truly arrived and you are very clever! 🙂
Awesome tutorial as usual. Can’t tell you how much I’ve learned from you. I truly appreciate your time and knowledge.
Thanks I enjoyed reading the process and will be thinking about this until I have time to try it! Cheers!
Thank you for the great videos! I have never used Inkscape, but I was able to follow your instructions easily and successful prepared the SVG file! I did have to remember to shift-click (and not just click) to change the stroke color. When I just clicked on a new color, it added in a fill. At first I thought I had done something wrong in Sketchmee – but I figured it out. I have the SVG file loaded up and ready to print on my Cricut. I just have to find pens that will work.
You don’t know how exciting this is to hear! Way to go, Tasha! Can’t wait to see how it turns out.
It has been lots of learning! I just bought my Cricut Maker a couple of weeks and because of the rotary cutter. (I have a Silhouette Cameo, so not completely new to cutters). I have few Cricut pens, but only one black. I am not an artist, but I have some Sakura Microns, but they are to short.
So – I improvised. I decided to draw it in color using what I had. The set of Cricut pens I bought included 3 different greenish colors, and it is currently printing out. But, nothing can work perfectly the first time, right? It stopped, but I think that was because of the screen saver on computer (but not positive). I decided to change the pen anyway and I hit the power button! It unloaded the mat so hard to know if it is in the exact spot. It is currently drawing the first color again with no pen.
And, of course, I couldn’t start with something simple! No, I had to choose a photo with two people in it taken at night. There is a LOT of background. I may use up my pens on just this one project! I also need to get some black ones.
Oh – I watched your video about Photo2Sketch. Of course, I had to try that also. Well…I sort of tried it. I had the Maker draw it instead of cut it out.
What a fabulous tutorial! I am anxious to try it after I get back home from the holidays. If I’m not mistaken you can get the .03 Cricut pen when you buy the set of black markers. Pretty sure that’s how I got mine. Don’t know if they still sell that set but wouldn’t hurt to check.
Thanks, Pat! The .03 pen was part of the old black pen set. The new black pen set has the .4 tip. So if you find an old set that’s the only way I know of to get the one marked .03
I have taken it one step further! After seeing how cool the image that the Cricut printed turned out, I had to try the next logical thing – turn it into machine embroidery. Yeah, maybe not everyone’s next logical step, but ME is really my craft! I love it. I do very little digitizing, but I’ve learning some basics. So, I loaded up the SVG file into my software and with not too much work, I turned it into a file that my machine will read. It is currently stitching out. I am used the SVG file with only 3 layers, but now that I understand the process I am going to create others with more layers and using the colored pencils in Sketchmee. This is very exciting! I make a multi-needle machine, so even if 15 different colors isn’t a big deal.
Is there a way to post photos here? I don’t have a website. I do use SmugMug and I could create a folder in there – can I post a link to that?
Thank you again for the wonderful tutorial!
Tasha! This makes me so happy. I like nothing better than springboarding off of others’ ideas and having them springboard off of mine. I can’t wait to see your results! Please post a link to your SmugMug photos in a comment here and if WordPress doesn’t like that I will take the link and post it myself.
Let’s see if this works: I took a picture of what I had the Cricut Maker print out using the 3 different greens. I also took a picture of what I stitched out in three different shades of gray. I choose a yellow fabric only because it was the first piece of “scrap” fabric that I came across.
Here is the link to the SmugMug folder with the two pictures https://tasha13662.smugmug.com/Cricut-and-machine-embroidery
That worked! I am so loving this! Thank you so much for letting me know.
Kay, do you have any idea when the work around will be done for the silhouette? I want to use this method so bad to make some gifts. Thanks for your videos on this I love them. So much you can do with it when silhouette fixes their issues.
Good news. Silhouette tells me the problem is fixed in the latest beta release 4.1.354. (I haven’t verified it yet.) Or, if you have a Curio, I discovered you can work around the bug by using etch instead of sketch. I don’t plan to release a Silhouette video on this until the bug is fixed in the release version but you should be able to go ahead from what I have already posted.
Thank you Kay for responding. I am going to attempt it. I hope mine turns out as good as yours. Love your tutorials!! Thanks again.
wow! I so love all your vids! Cant thank you enough and I cant wait to try this:)
Kay, I’m so excited about this… If you have any images you have already done for yourself that would be good to share, would you consider releasing a bigger set of images, besides the ones you have above, that are already Cricut ready for like $5 -$10? I fully intend to follow your tutorial, and figure out Inkspace, but I want to play with it some more before I do that.)
Hi Leslie,
I have plans to share more images for free in the future, but I think the real value here is in creating them from one’s own family photos, etc. I realized I should have created more samples like that, as they are more likely to generate interest in this technique than inanimate objects.
Kay, I tried the sketch it didn’t come out so great, but my question is… I use a silhouette cameo. When I am in inkscape do I have to do the 3 different layers? Since I don’t change pens. I just used one pen the whole time.
With SketchMee you are only going to get good results with multiple layers and different pens. Set each layer to a different color (arbitrary but black, gray and light gray will help you visualize) and use action by line color to draw each one with a different pen width or color. The other problem, though, is that if you are using the current release it will double up on all the lines making them too heavy. This has been fixed in the latest beta version. There are other processes that work with a single pen, but not this one.
Thank you so much. I didn’t do the beta update I did the other one. I guess I should of done the beta one now. That makes total sense now that you explained it. Thanks again.
is there an sketch app for android or windows you would recommend? thanks! -annette
It’s possible but I’ve not heard of one.
Are your tutorials for using the SketchMee app no longer accurate? I have downloaded SketchMee, SketchMee Light, and SketchMee 2, but none of them allow me to save as a PDF, which you describe in your video. I would truly appreciate a message back! I would LOVE to be able to do what you explain in your tutorial, but I have not been successful so far. Have tried to reach the app developer, but haven’t gotten a response.
Its certainly possible that the developer or Apple have made changes that render a prior tutorial obsolete. While I hope not, it is unfortunately out of my control. The web site still lists PDF export as a feature of SketchMee2, but I am not seeing it there either. I will join you in reaching out to the developer.
An update on this. I contacted the developer and he has restored the PDF option. So we are back in business!
Hi Kay, Thank you for getting back to me! Do you think I could get a Similar sketch result in Photoshop, illustrator or Inkscape? I’m not really sure what to research for when looking for tutorials? I’m so overwhelmed… I would like to get my maker to draw and engrave my own sketches or images as single lines (without the bubble effect) your advice would be much appreciated!
This is a complex topic, with no easy solutions for converting an existing image into single lines, but I have lots of information collected at these 2 pages that should help you find what you need: cleversomeday.com/sketching and cleversomeday.com/cricutengrave
Hi Kay,
Thank you for your prompt reply and the resources 🙂 it is very much appreciated. xxx
I looked and didn’t see the answer to my question. Is this app available with or for Android? If no do you know of an app that this could be accomplished using tan Android?
Thank you so much.
Unfortunately, I do not know of an app for Android, for Windows or on the web that can convert a photo to drawable lines like SketchMee can.
If I under stand after you have converted the file and save to phone and email it to yourself it is in the drawable line format that is needed. Is this correct?
Not exactly. Please see the chart at the top of the page. The Sketchmee output is PDF, which has the lines you need, but the PDF has to be converted to SVG, and the lines reorganized before they can be drawn on a cutter.
Hi Kay,
Thank you for posting this video series. Is the Path > Combine step in Inkscape the same as Object > Compound Path > Make in Illustrator or is it the Object > Path > Combine?
The end goal of the Combine is the limit the number of objects that show up in Cricut Design Space, right?
I believe it is Object>Compound Path>Make but the other might work, too. And yes, the end goal is to have just one layer for each different pen once it gets into Design Space. Another tip since you are using Illustrator… AI has more “select same” options than Inkscape so you can use pretty much any SketchMee settings and still be able to separate them out in AI.
Thanks for the tip! Much appreciated.
Do they have this app for Android users?
not that I know of
I love your videos so much that I decided to buy a Mac just so that I could try Sketchmee with my Cricut. Unfortunately, I am having a problem. I followed your instructions and came up with a perfect sketch, figured out how to save it as a PDF through the print pane, but when I bring it into Inkscape (I tried the old and 1.0 versions), it is in a single layer and there is nothing to ungroup. I have spent hours trying to figure out what the problem is. If I were to upgrade to the $40 pro version, would that solve the problem? Also, I tried to bring it into as a single layer SVG sketch into Cricut to see if it would work for engraving, and it wouldn’t even load. I’m usually pretty good with a computer, but this has me stumped. Any help would truly be appreciated. Thank you.
Yes, if you use the Mac version you have to pay the $40 in order to get the vector lines. That, and the fact that I haven’t personally tested the $40 version, is why I don’t recommend the Mac version. If you do decide to try it, please let me know how it goes.
Thank you so much for the insight! I took the plunge and purchased the pro version. The biggest difference is that in pro, besides several more save options, is that you can assign a specific number of layers. Each layer pulls apart intact in Inkscape and then it is just a matter of combining the strokes within the individual layers to work in Cricut design space. The layers actually create the different dark values by stacking, so you only need to use a single pen. With that flexibility, it is easy to produce both grayscale and single color drawings. I’m sure there are going to be many more possibilities as I further explore the settings in pro and Inkscape. Thank you for your help!