I know a lot of you have new Silhouette Curio machines you got in a bundle recently and are wondering what the heck it can do. Well, here’s a quick Curio-only custom clipboard project I want to show you.
I started with a memo sized plastic clipboard I got from Walmart for under $3. After a little experimenting I decided that putting the clipboard face down and upside down would allow me to take advantage of the clip to secure the clipboard onto the platform and mat. I centered the clipboard on the mat right to left and used the grid on the mat to square it up.

Here’s what it looks like under the trailing end of the platform.
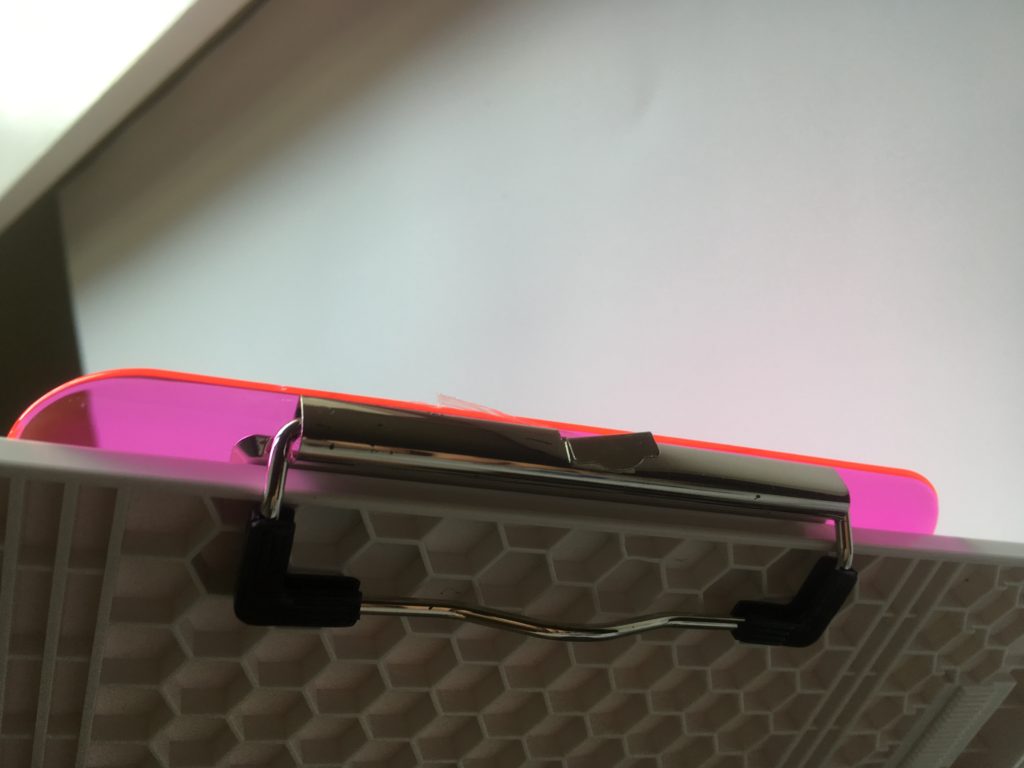 For my clipboard a “2” spacer under the regular Curio mat was enough for it to lie flat, but you might have to experiment if your clip is different.
Next I prepared my file in Silhouette Studio. I started by drawing a rounded rectangle to simulate the clipboard to help size and position my design, but this is optional. You could just as easily use the grid on the mat instead since the clipboard is transparent.
I typed my phrase, selected a font, and sized it to fit my clipboard, and positioned it near the top of the rectangle (which represents the bottom of the clipboard).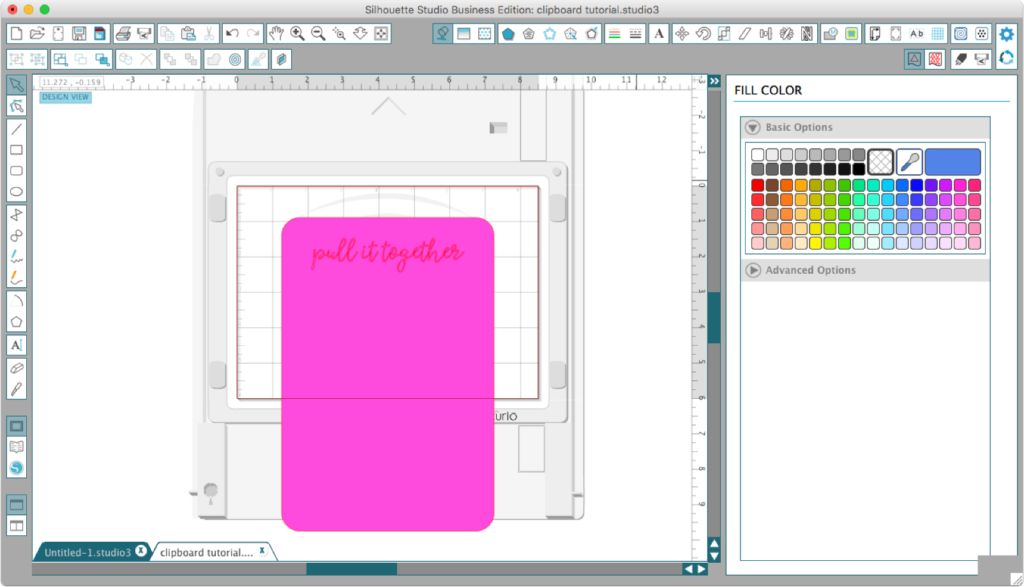
Since I’m using a cursive font, the next step was to weld it.

At this point I removed the rectangle so I could see better.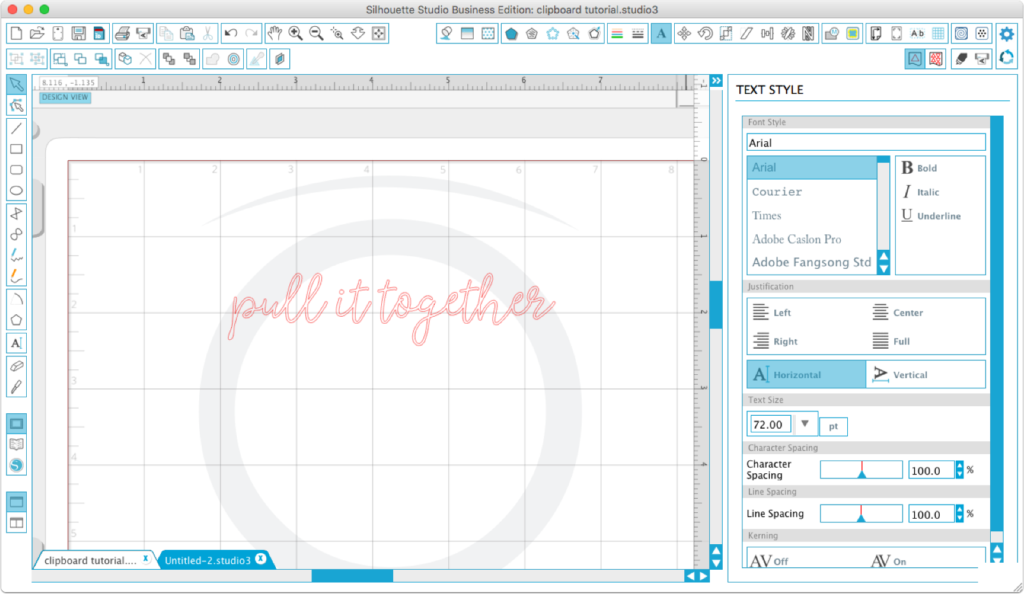
Now its time to set up the fill for the etching. For the Curio this is located under the Emboss panel. Click on Deboss at the top and the Effect options will appear. I chose Parallel Lines, Spacing of .006 and an angle of 90 degrees (vertical). For the most part, these settings are personal preference. The tighter your pattern, the more pronounced it will be, but the longer it will take to run.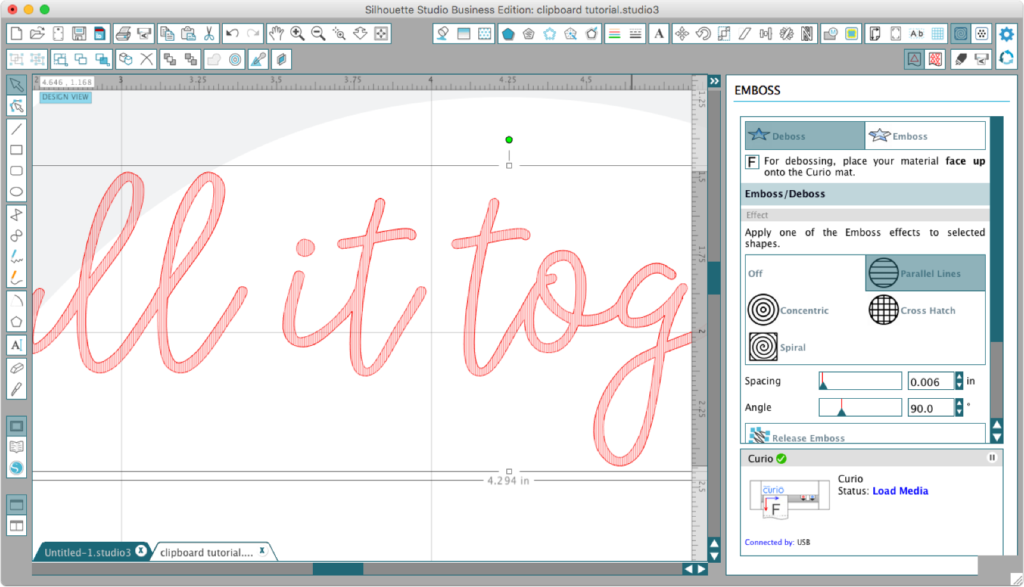
Since we are etching on the back of the clipboard and want the design to read correctly on the front, we need to mirror the design. This works best because the etching looks better from the opposite side, and the writing surface of the clipboard remains undisturbed. (I suppose I could have just chosen Emboss and not mirrored, but I like having a reliable preview.)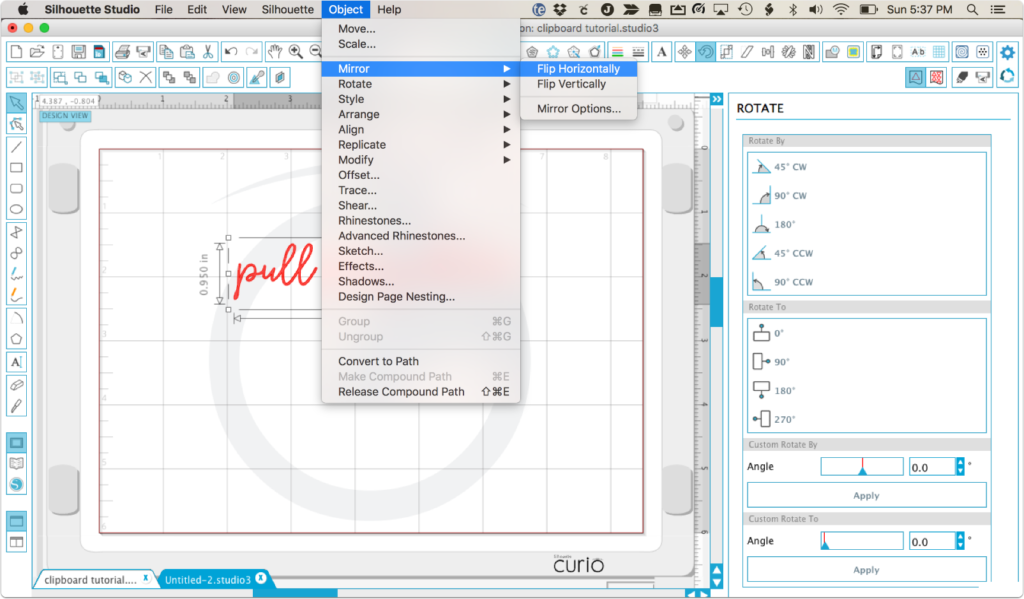
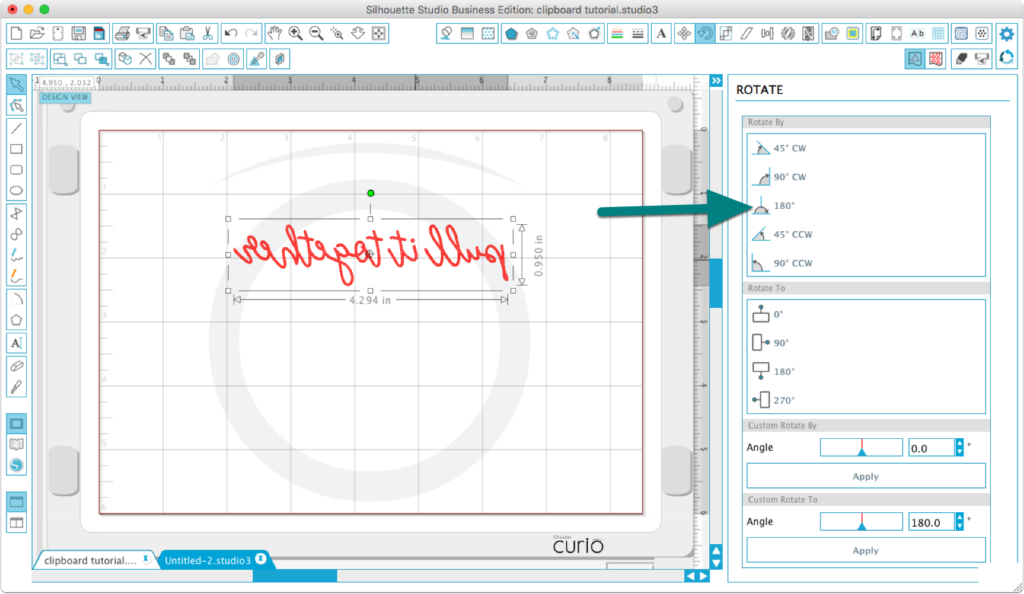
We still need to rotate the design 180 degrees since the clipboard is on the mat upside down.
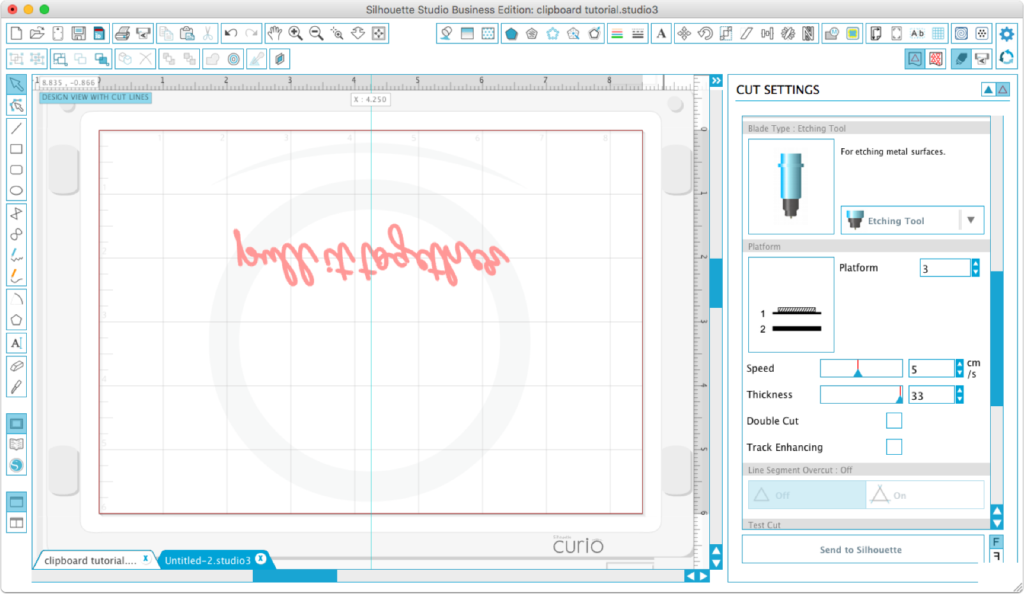
Now the design is both mirrored and rotated and we can choose cut settings. I set up a custom media setting with the etching tool, speed 5 and Thickness 33. I also set platform to 3 to reflect the stack that fit my clipboard best.
Time to press the Send to Silhouette button and let the Curio get to work. I went ahead and did a second pass for good measure, and will probably update my custom setting to include a double cut in the future.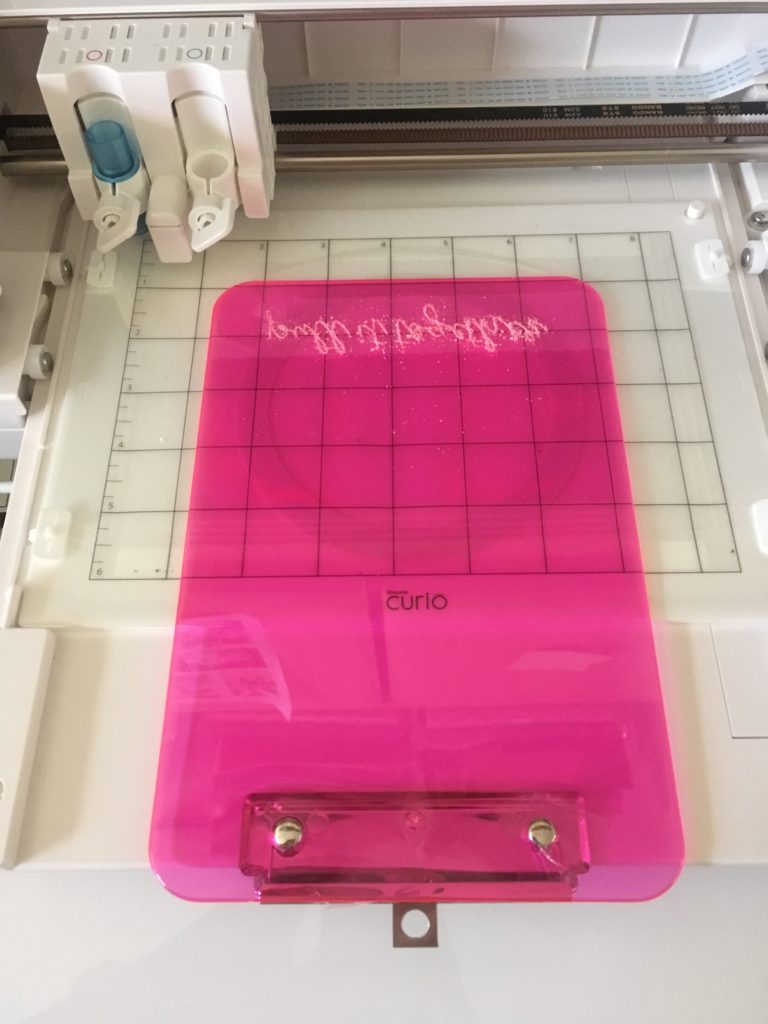
You’ll note from the photo above that there are a good many shavings, and I certainly don’t want them on my sticky mat. So I carefully removed the platform from the Curio and the clipboard from the mat before brushing off the shavings and rinsing with water. Here’s what it looked like after cleaning it up.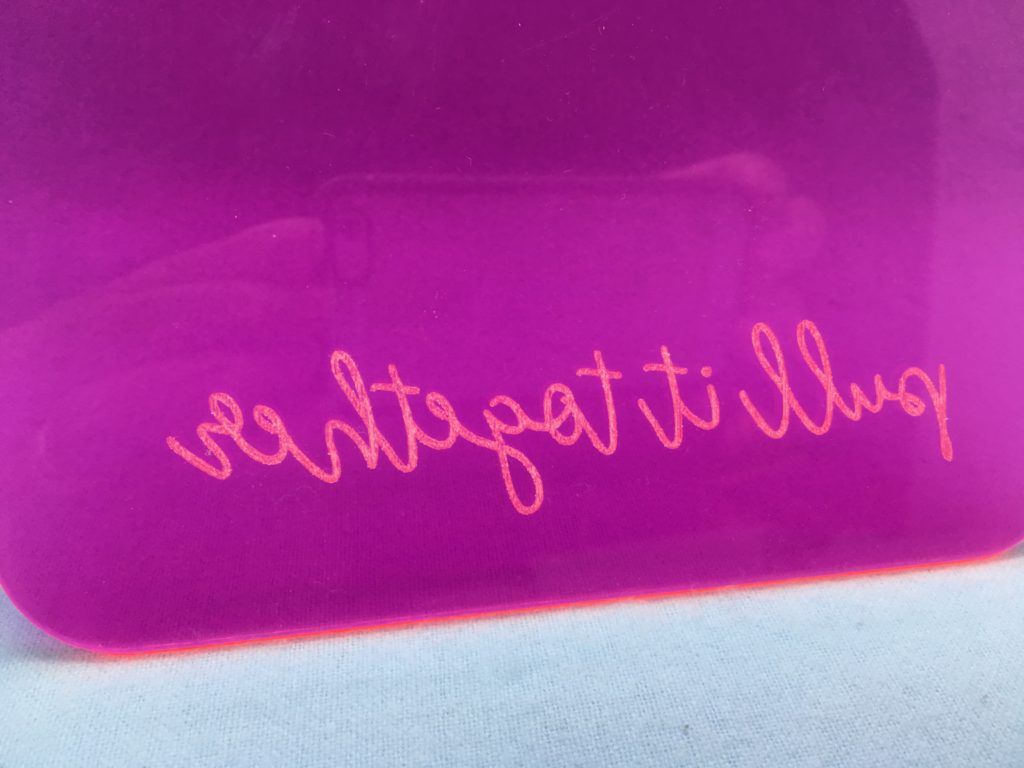
But the real excitement came when I flipped it over. How cool is that!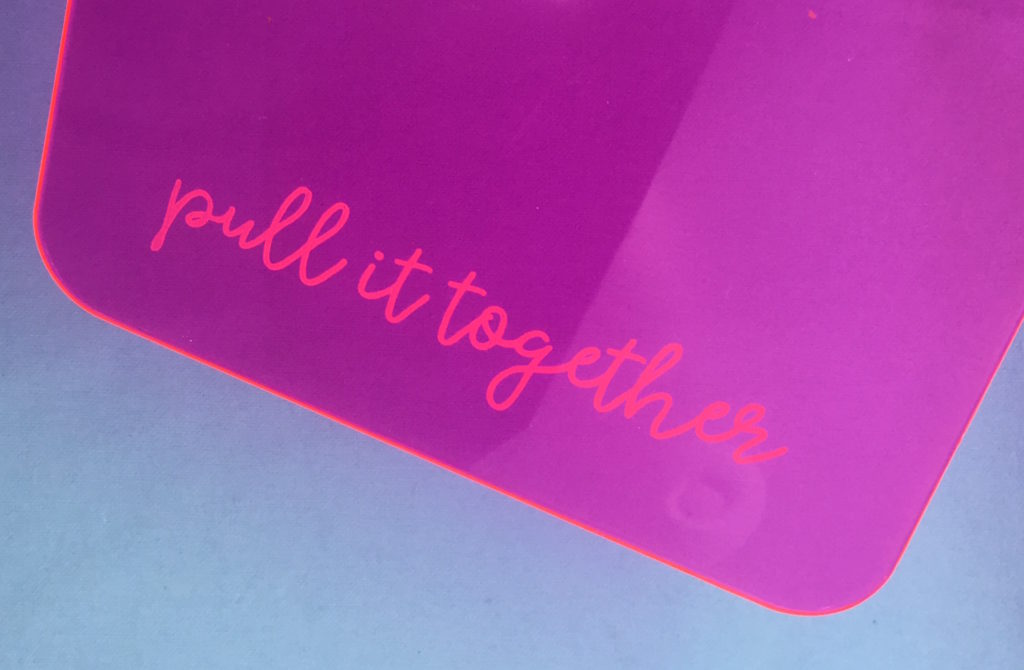
So there you have it, a quick Curio project for yourself, a teen, a teacher or a friend. If you make one of these, I’d love to see it. And if you like this post, please share it with any Curio owners you know.

Great post Kay, even tho I don’t have a curio! I always learn from you. Thanks!
Kay,
This a an interesting project! I don’t have a Curio, but I can echo Robyn when I say that I always learn something new from you!
I love this! Pinned it and shared on my Facebook page. I’ll have to add a transparent clipboard to my shopping list. (One of my daughters is a clipboard junkie, so she will love choosing a design.) 🙂
Thanks, Kelly! Hi praise when coming from the Curio Queen!
Cool idea TFS
Nice execution and GREAT exposition! Y’r [new] ol’ Bud,
Fike
Love it and was successful after the 3rd try. My machine (calibrations are always different) I used the #1 mat and the cutting mat and it worked perfectly. Thank you for sharing.
Super cute tutorial! I don’t have a Curio, but this sure does make me want one 🙂
So well done – seeing the thorough visual breakdown of how to flip and turn the design really helps those of us who are spatially challenged!
Muy buen proyecto, gracias por compartirlo !