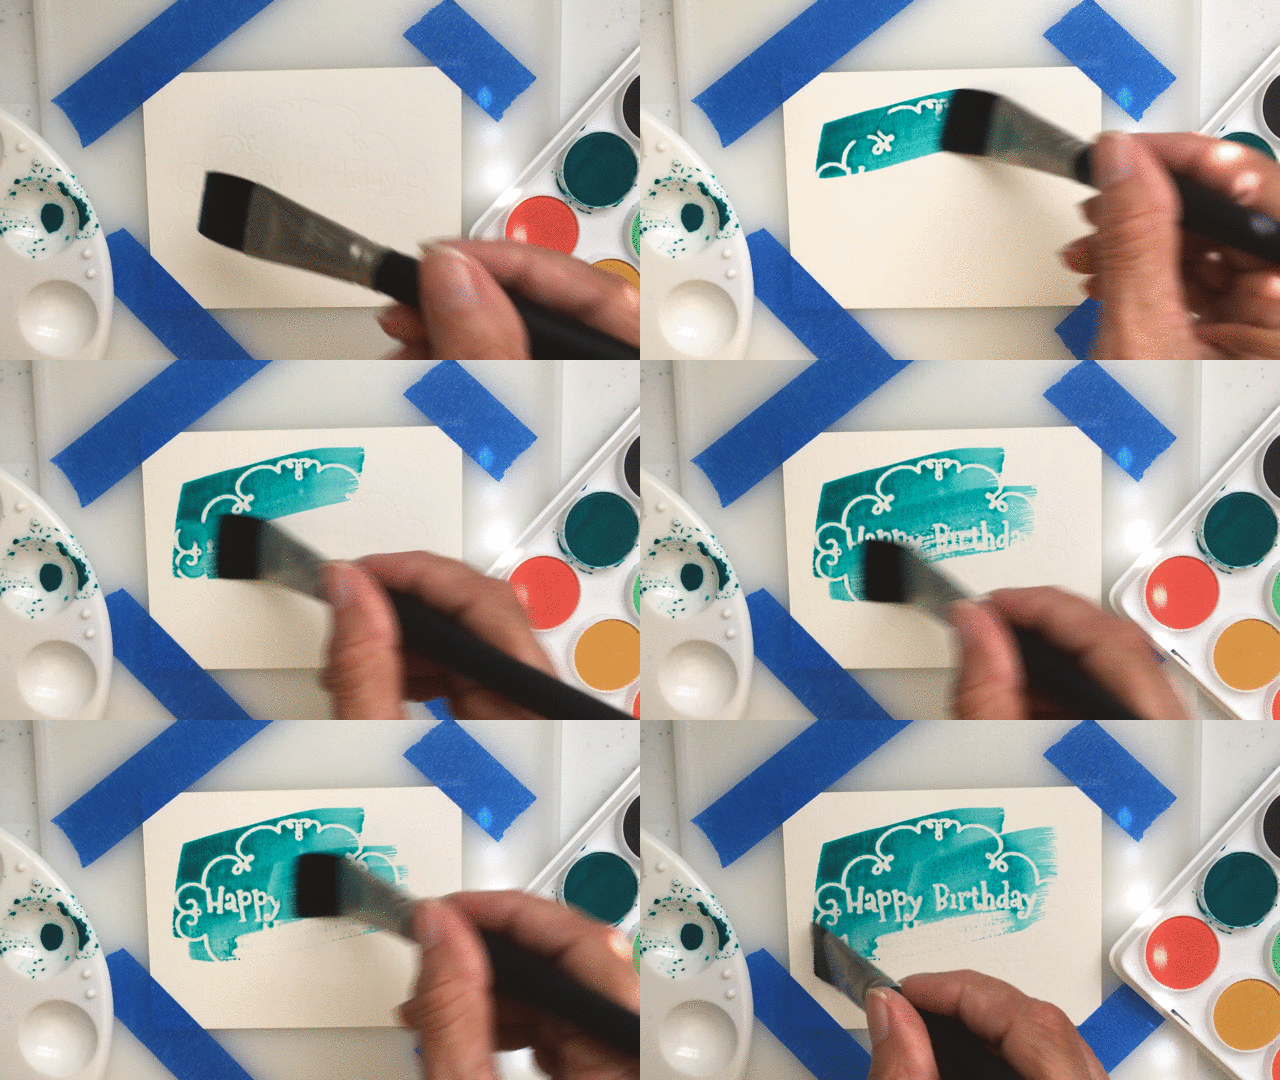
Ever since I posted this little gif back in the summer, folks have been asking me for a tutorial. Seriously, all I’ve done here is replace the usual hot stamping foil with wax paper and otherwise do the normal Foil Quill process, but since you asked, here’s a quick tutorial.
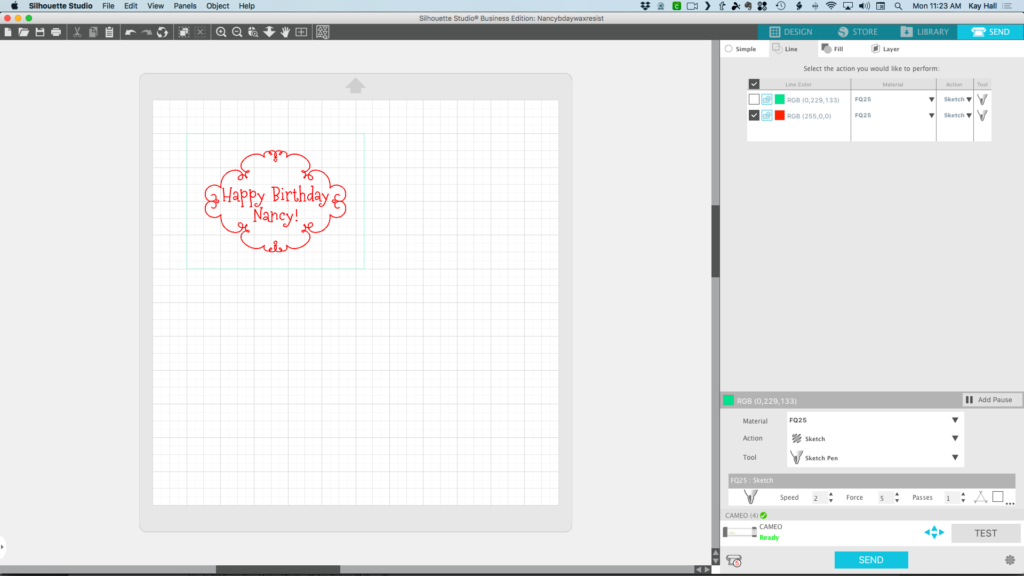
Set up your design in Silhouette Studio, Cricut Design Space or other cutting software as usual. This technique will also work with the Foil Quill Freestyle pens or other heat pens if you don’t have a cutter or want to freehand it.
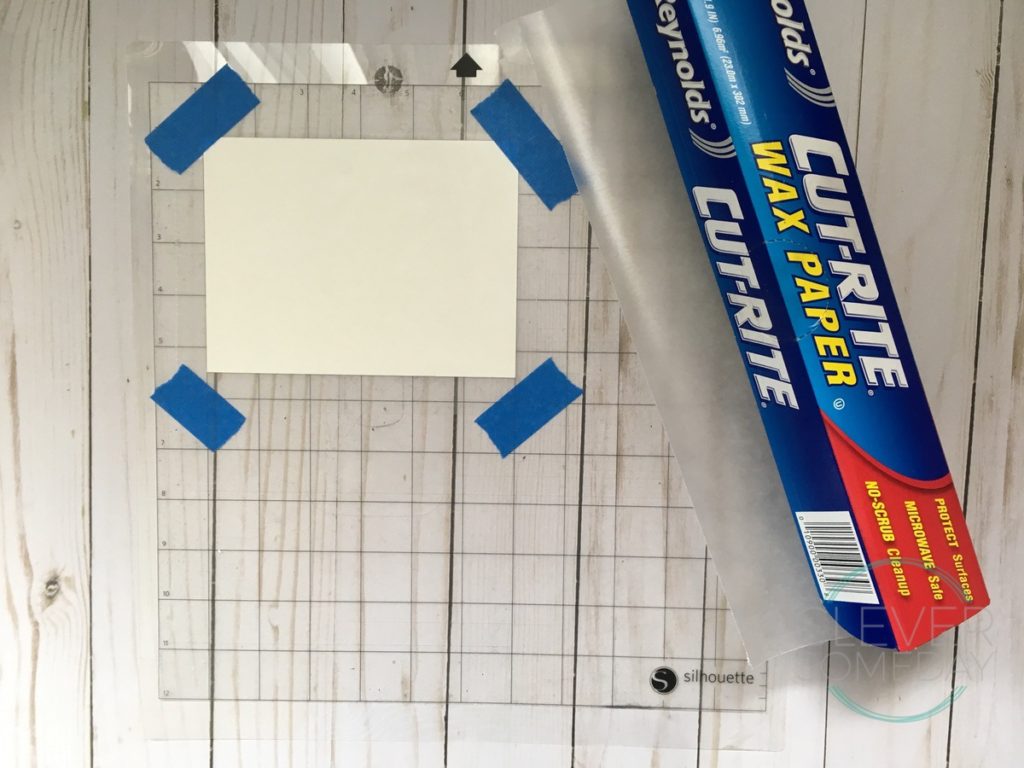
Load a piece of watercolor paper face up on the mat, place a piece of wax paper on top of it (either side is fine) and tape it down. (Sorry the wax paper is hard to see in this pic…shows up better in the next one.)
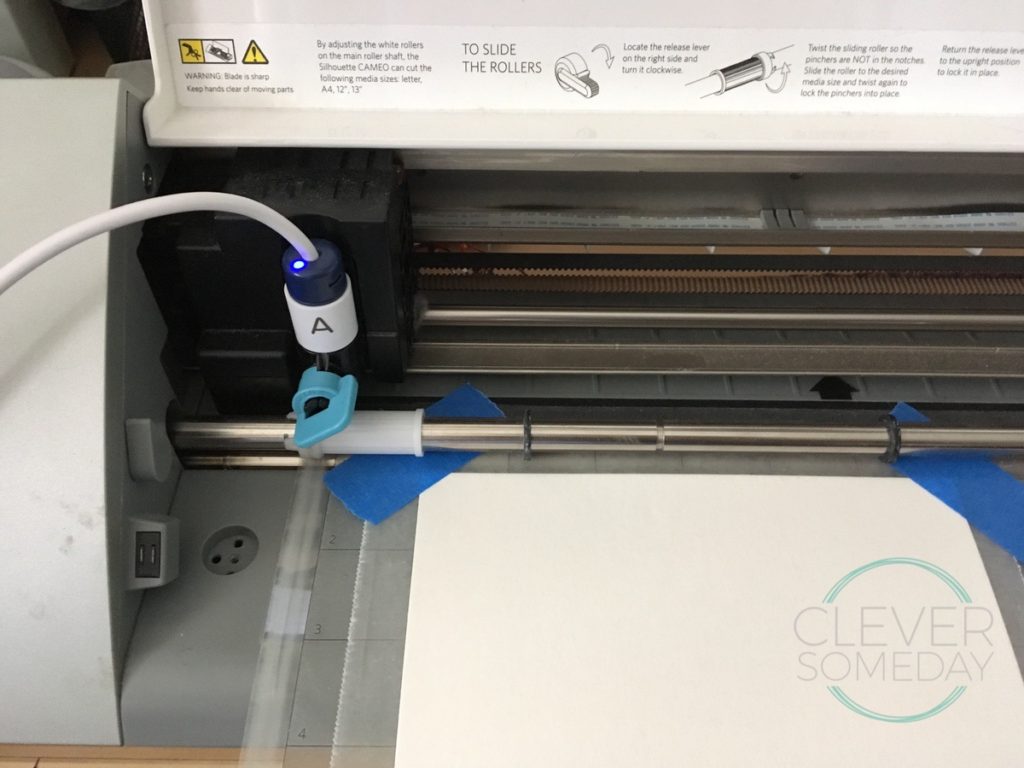
Preheat the Foil Quill, install it in your cutting machine, and run as you normally would for a foil design. Use lighter pressure for an “invisible ink” effect or heavier pressure for a debossed effect. As with foil, slower speeds are better if you have that option. I’m using the bold tip here but any of them will do.
Remove the wax paper. You will see the impression on the wax paper, but have to you have to look very carefully to see anything on the watercolor paper.

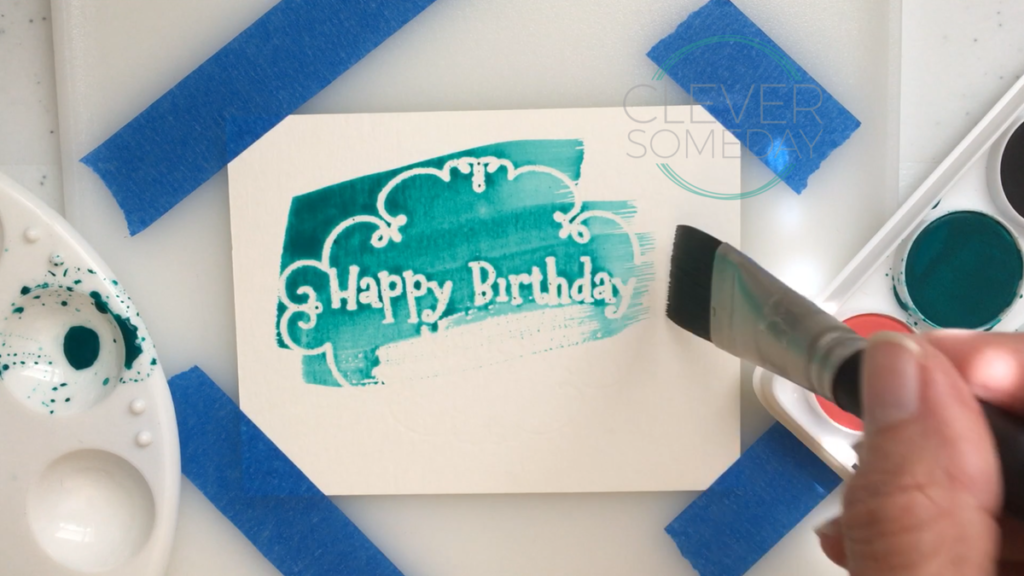
Remove the panel from the mat and apply watercolor to reveal your design.

Ohhh this is exciting! I’ve been wishing for a white foil (not sure why noone makes one?) so this might be my next best thing!
Hi Candi. There actually is white foil. I got some on ebay I use on dark paper and love.
Ohhh is there really? I didn’t think to check ebay… off to do that! Thanks for the tip!
is it white or pearl?
I am talking about actual opaque white from ebay but I love the WRMK pearl matte foil (kinda holographic and translucent) too.
Thank you!
Not able to find on ebay. got a link or description? Thanks
Here’s the one I ordered https://www.ebay.com/itm/6-X-50-FOIL-FOR-HOT-STAMPING-MACHINE-HOT-STAMP-FOIL-KINGSLEY-HOWARD-KWIK-PRINT/382639288380
Anyone have a guess (or do you remember Kay) which color code it was? On my monitor there are a couple that might be plain white.
Good question. W51 is opaque white.
Awesome and so easy! Thanks for sharing this technique with us 🙂
As usual, you are knocking it out of the park. The possibilities are limitless.
Thank you so much for sharing this tutorial. I must try this. Thought the foil quill pens only had one purpose! Now we can have more fun.
Love this idea Kay 🙂 I guess the same principle can be used in the curio with metal to apply a resist for etching. I’m not sure if wax paper is a strong enough resist for acid etching but I’m sure there’s another similar product if not. Thanks again!
I’ve heard of people using Sharpie for an etch resist, but I love your idea of something heat applied. Keep me posted if you try it.
This is so great! Another way to use the Foil Quill – thanks for sharing this. You come up with the best ideas!
Such a great idea! Thank you:)
Good job. Thank you for sharing. I sure do miss your tutorials and your video’s.
Kay, have you tested this without the foil quill and using Curio embossing tool?
Yes I have. It works sort of, but not nearly as pronounced as with the quill.
Thank you! This is wonderful and it appears like magic. I am going to make some cards for my grandkids and let them watercolor over them and make the magic pictures appear!