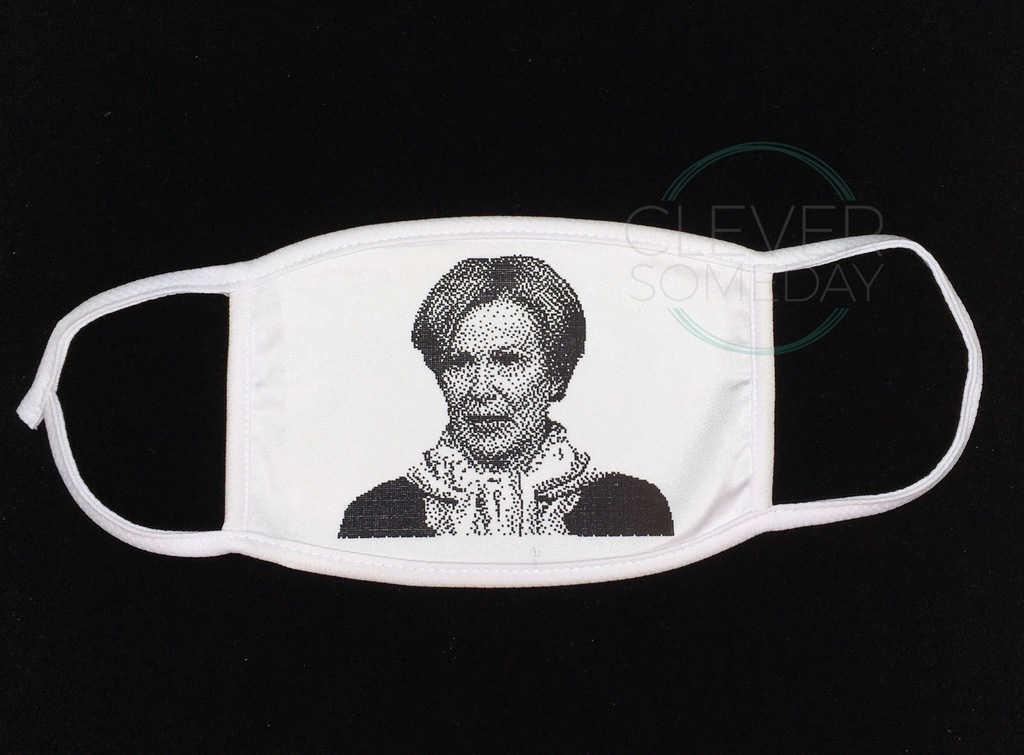
Pen stippling draws out a photo or other design as a series of tiny dots, and is a little known feature of the Silhouette Cameo 3, Cameo 4 and Curio. To be honest, stippling hasn’t been all that exciting with regular pens, but now that sublimation markers are available, its time to give stippling another look.
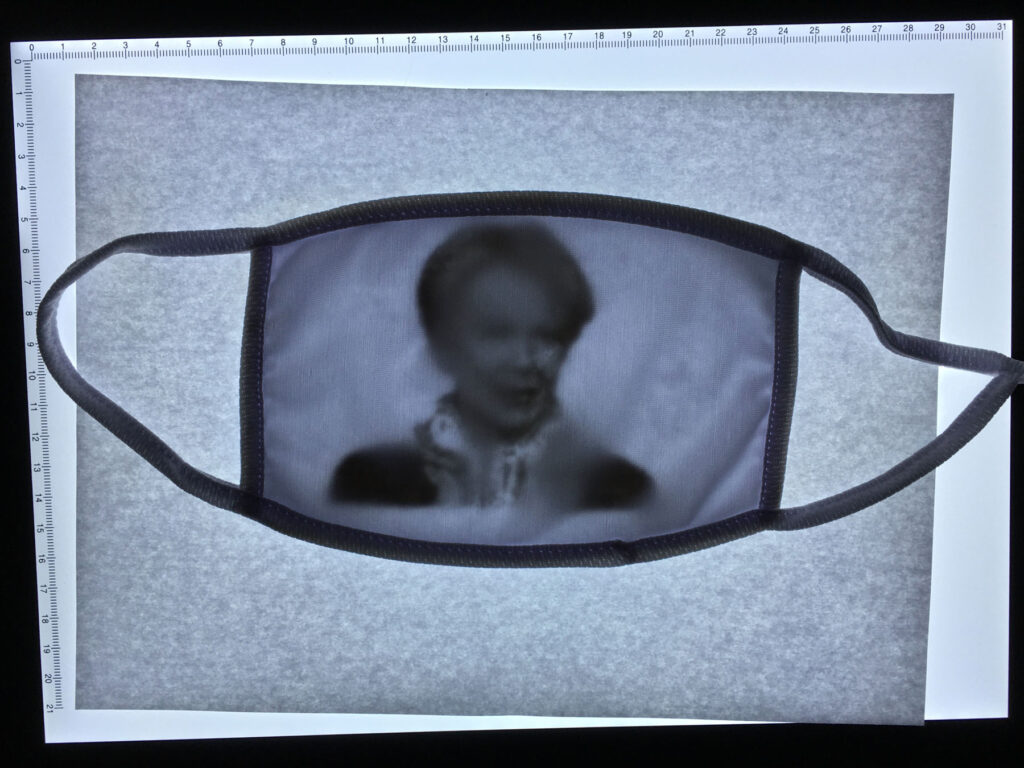
If you haven’t jumped on the sublimation bandwagon, this is a great low cost way to give it a try, and if you already have sublimation markers (including Infusible Ink markers/pens), stippling is a great way to put them to use. We used a mask here for our example, but there are all kinds of sublimation blanks available like mouse pads, coasters, can coolers and garden flags, as well as t-shirts and infant bodysuits. You can even do mugs if you have the proper pressing equipment.
In any edition of Silhouette Studio, you can activate the Stippling Panel (dotted star button) if you have had a Cameo 3, Cameo 4 or Curio connected. (That’s in theory. In practice you may sometimes need to reconnect one of those machines to activate the panel). On the second tab of that panel is the Stipple Trace feature which is what lets you convert a photo into a stipple image.
Be sure to remove background if desired, and scale your image to its target size before the stipple trace, as the stipple image can’t really be edited, and resizing afterwards will change how it looks. If you aren’t familiar with Stipple Trace, here is Silhouette’s video about it.
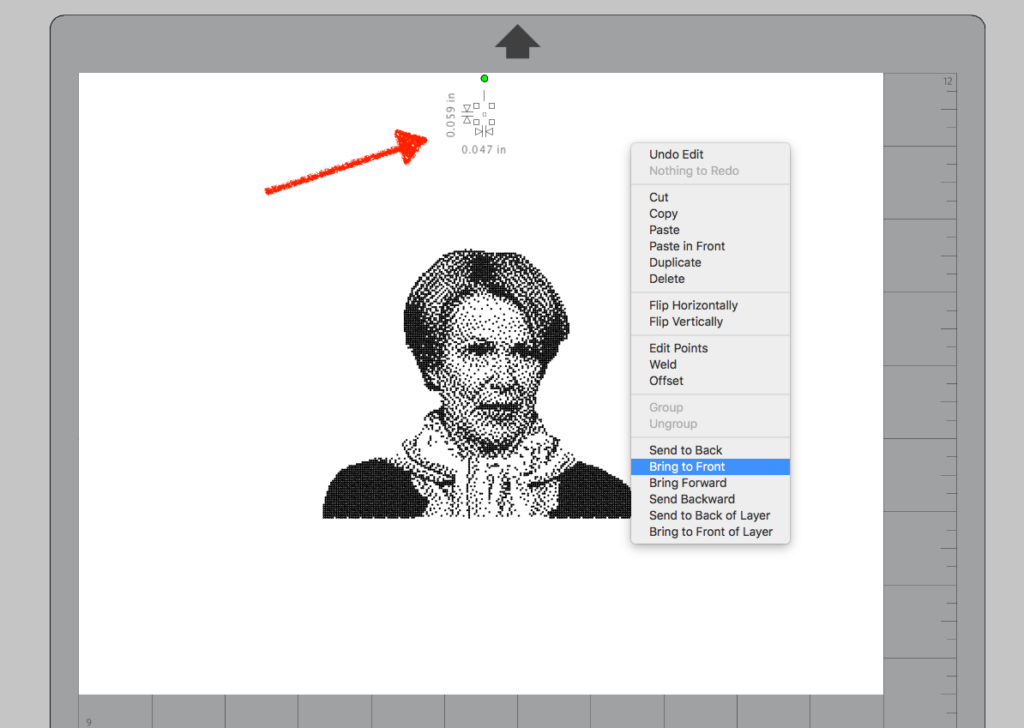
Because this will be a sublimation transfer (pressed face down), we need to flip the image horizontally so it turns out right reading on the final project. There is a longstanding Silhouette bug that keeps the pen down an extended time at the end of each run, so we have to use a workaround to keep our last dot from bleeding. This involves putting a tiny dummy shape well outside of the transfer area and bringing it to the front so it renders last. This way the Silhouette will linger there instead of ruining our project.
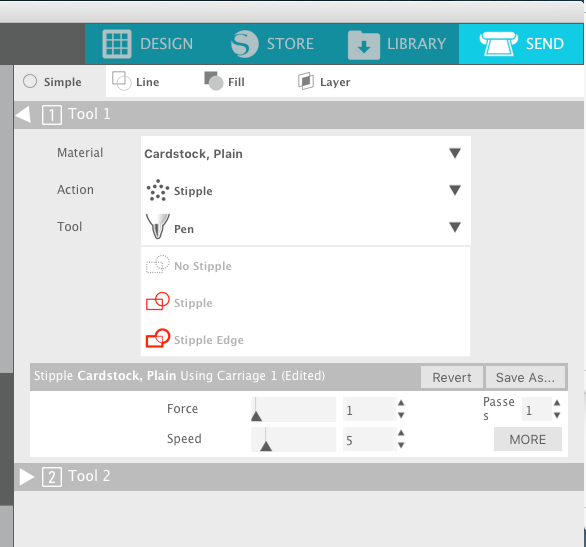
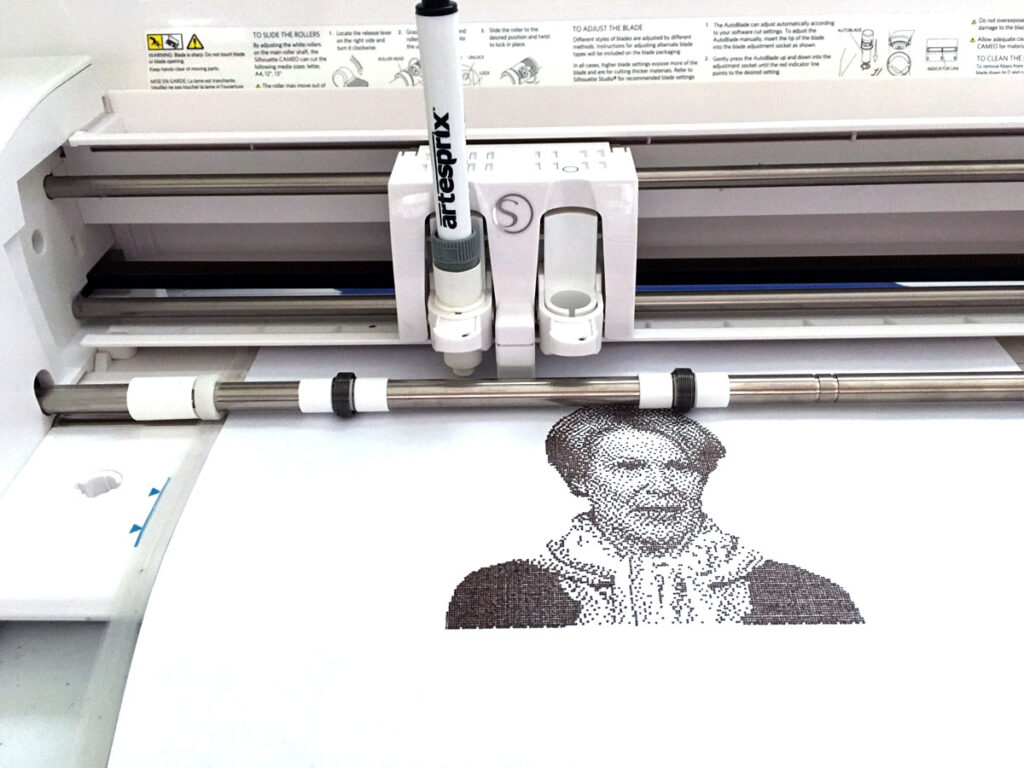
Load paper (laser or multipurpose copy paper to hold up to the heat of transfer) onto your mat. Load the sublimation pen into the pen holder securely with just a small amount of the tip exposed to limit wear and tear on the tip. Load the pen holder into the machine. Go to the Send Panel and choose Cardstock, Plain, Stipple Action and Pen as tool. Slide the force over to 1, again to protect the pen tip.
Press the Send button and watch your Silhouette tap out your image.
When the stippling is finished, remove the paper and go ahead and trim off the small dummy mark so you don’t accidentally transfer it. Specific transfer instructions will vary depending on which pens and blanks you are using, as well as whether you are using a heat press, portable press (like a Cricut Easy Press 2) or a home iron, but here are the steps I used for a Craft Chameleon polyester mask with an Artesprix fine tip marker, adhesive spray and a heat press:
- Preheat heat press to 400 F.
- Prepress mask between clean sheets of butcher paper with medium pressure for 30 seconds to flatten and remove moisture.
- Spray repositionable adhesive lightly on inked side of stippled sheet and let dry for a few minutes.
- Lay mask face down in position on stippled sheet. A light table or sunny window is helpful for this.
- Make sure the mask is spread evenly and is laying flat, including straps. (If you are using heat resistant tape instead of adhesive spray you would tape the mask to the paper at this point).
- Place mask with stipple sheet secured in position between clean sheets of butcher paper.
- Press in heat press 400 degrees F for 50 seconds. Medium pressure.
- Carefully peel the mask off the stippled sheet to reveal image.
Caution: it will be hot!
Some FAQs
What do I need to do this?
- Silhouette Cameo 3, Cameo 4 or Curio; and Silhouette Studio software
- Sublimation pen/marker such as Artesprix marker (fine point or round, not chisel tip) or Cricut Infusible Ink pens/markers
- Silhouette Pen Holder for Cameo 3/Curio, or for Cameo 4 Pen Holder
- sublimation compatible blanks (polyester) such as masks from Craft Chameleon
- laser or multipurpose copy paper
- heat-resistant tape or repositionable adhesive spray
- butcher paper
What is sublimation?
Dye sublimation is a chemical process where polyester fabric is selectively dyed (dark onto light) via heat transfer. Its long been used commercially, but has more recently filtered its way down to crafter level with desktop sublimation printers/inks, Artesprix markers and stamp pads and Cricut Infusible Ink markers/pens and sheets.
The advantage to sublimation is that the image is chemically bonded into the fabric so it’s completely permanent and you can’t feel it at all on the fabric (no “hand”). You have likely seen sublimation all around you without realizing it, but most Michaels have samples as part of the Cricut display if you want to see and touch.
Can I do this with a Cricut?
Maybe, but you will need to use software such as StippleGen to create an SVG, because Silhouette Studio generated stippling designs do not work with Cricut Design Space.

You never cease to amaze me! Love it!
Hi, I’ve been with you for years and always enjoy and appreciate all your shared expertise with us! I have business Silloette. Are you saying creating a stipple SVG and uploading it into DS won’t work? Thanks so much?