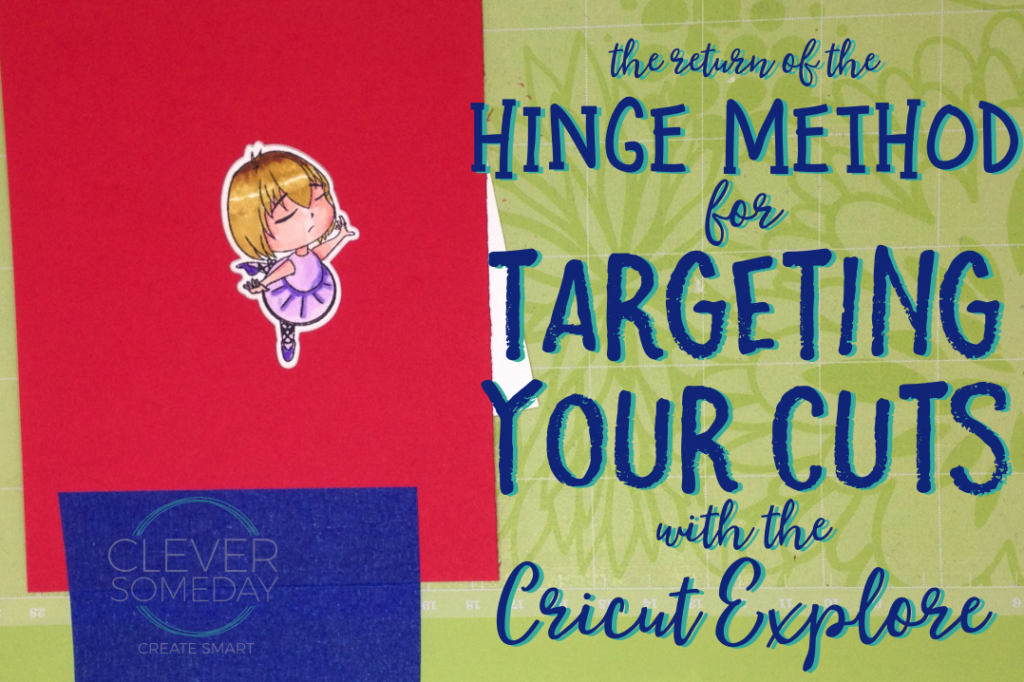

In 2009, I introduced you to the hinge method for targeting your Cricut Expression cuts. This simple method was a powerful tool for getting things done, but unfortunately did not translate over to something that could be used on the Explore. I made this a personal challenge, and have finally strung together a set of workarounds to bring the beloved hinge method to the Explore.
The video goes over everything in detail, but here are are “high spots” in written form for those of you that prefer that
- Import the cut file to match your image (if you don’t have a matching cut file, the instructions for that are here), place it on the mat and ensure it is the correct size
- Add a circle, shrink it as small as you can
- Place the circle at x = .25, y = .25
- Make sure the circle is on top, click Select All and click Attach, then hit go
- Make sure your card stock flap is positioned according to the mat preview and hinged along the bottom edge with tape, click go
- When the first cut is finished, do NOT unload the mat
- Remove the cutout, position your stamped image within the cut out opening and press it down securely to your mat
- Flip the flap out of the way and press the Cricut C button again.
The stamp I used in the video is from the (now defunct) Oak Tree Stamps.
SVGs for Sweet Stamp Shop Stamps from CraftsbyTwo here.
Update: My easy phone method for creating outlines is here.

Great tutorial Kay. Coincidentally I am working on a tutorial with 4 different ways to cut photographs with the Silhouette. I am covering this idea as one of the methods, but hadn’t thought to use the bottom of the mat and hinge with tape. I was just going to use the rollers as my clamp, but this is a definate improvement. I’ll incorporate that and link back to here 🙂
Thanks, yes, much easier to do this on a Silhouette, but just one of several good Silh options. I think I’ve only used this a few times on the Silhouette over the years. It is great for engraving onto small pieces.
This is a great idea Kay!
I’m so bad at stamping on cutouts. I will definitely be a happy hinger.
Your coloring is fine by the way.
Never heard of this method before. Great idea. I actually have this stamp and plan to try this out! Thanks for sharing
When I click on the link
(link removed)
it says page not found.
There wasn’t supposed to be a link to that. Thanks for the headsup.
Kay, this is an awesome video. I would love to see one that shows cutting stamped images where you don’t have the file. Thank you so much for all the work you do!
Great workaround, Kay! I know I’ll be using your technique! I appreciate it and thanks much for the dedication of even losing sleep solving this and then sharing it!
Now you have to change your blog to “Clever Today”! Thank you for an easy to follow tutorial. Can’t wait to try it. ?
Thanks so much for sharing….never knew this was possible. It would be so nice if more stamp companies would have the die cutting option available. Thanks again for sharing your talents.
I don’t know how I missed this, but I’m glad I found it now! Thank you!
Hi Kay, Thanks so much foe this video. I have used your hinge method for years since you first came up with it. This was working perfectly for me and now that DS3 is up and working I am not able to use this method. I cannot get the .25 in circle to cut last no matter what I do. Am I doing something wrong or has DS3 made it impossible to control what cuts last. Thanks in advance for any thoughts and ideas.
Oh no. Let me do some testing. I hadn’t checked that yet.
I have done a few quick tests and am not really able to see how its determining order now. But I did get it to return the the top with a second small circle below the first one and to the far right of the other design. Not sure that works every time. Will have to keep checking.
Thank you Kay, I will try it and see if I can come up with anything as well. I have used your method for years. And loved it. I could just pull out one of my other cutters (I have a lot) but I am enjoying this cricut explore and want to get the most out of it. I am on the MTC boards as well as Rorysnonna if you need to message me. Thank you again for all your efforts and sharing your knowledge.