
Update: This process only worked in Cricut Design Space 2, but I will leave this up since it shows the hand cutting process and the scanning process. I have a new process for Design Space 3 here.
Original Post: Many of us want to cut out our stamped images, but unfortunately Cricut Design Space does not maintain the correct size when you import an image, making this process complicated. Instead Design Space always brings bitmaps and Cricut shapes in at 2.4 inches high. [Update: please see this post for important sizing information in Design Space 3]. We’re going to exploit that fact with this simple, low tech (some might say, “quick and dirty”) method for creating outlines for your stamps. No Inkscape, and no math required! Cricut Design Space is the only software you need and you won’t run afoul of any angel policies with this process that I’ve nicknamed this the “2.4 Method.” Video below:
And illustrated written steps are here for those who prefer them:
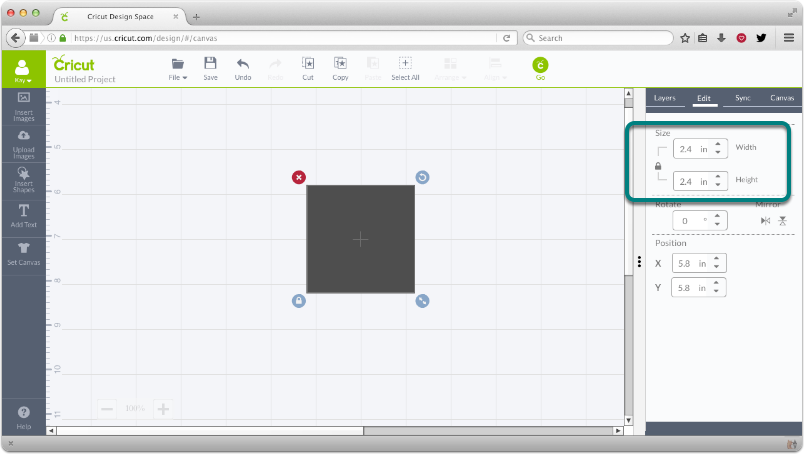
Click Insert Shapes then click on the Square button.

The shape should be 2.4 inches high by whatever width you need (up to 11.5 inches). Since my shape is roughly 2 x 2 inches I’ll keep the square as is because 2.4 inches is the default size.
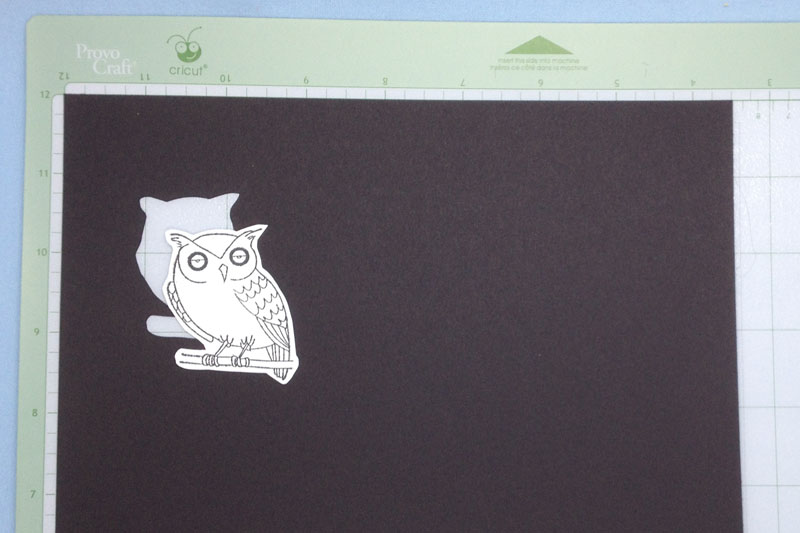
Cut this “reference rectangle” out of black card stock.

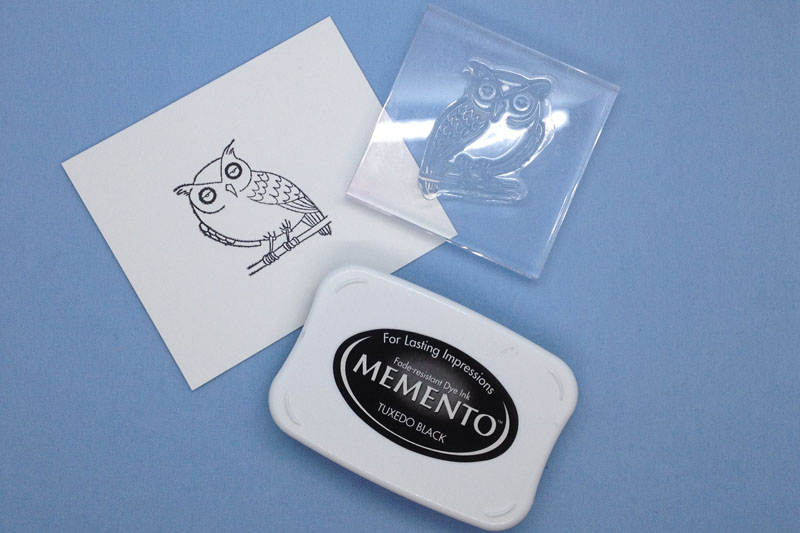
Stamp your image on a piece of white paper or card stock.
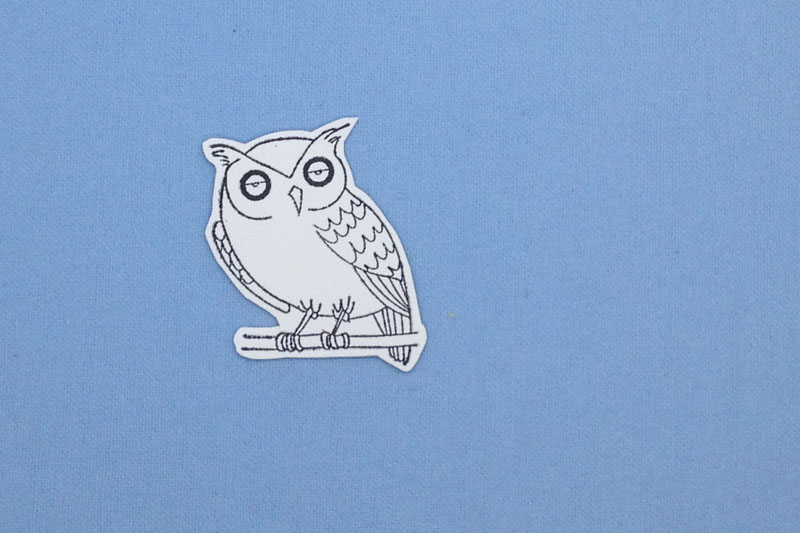
Cut it out leaving an even margin the size you like. You will want to take your time and get a nice smooth even shape.

Take comfort in knowing you will never have to fussy cut this stamp again!
Put the cutout of your stamp face down against the black rectangle.

Place that “stack” face down on your scanner bed. (The stamped piece will be against the glass with the black rectangle on top.)
Use the long edge of your scanner to square up the rectangle. The straighter the rectangle, the more accurate this method will be.

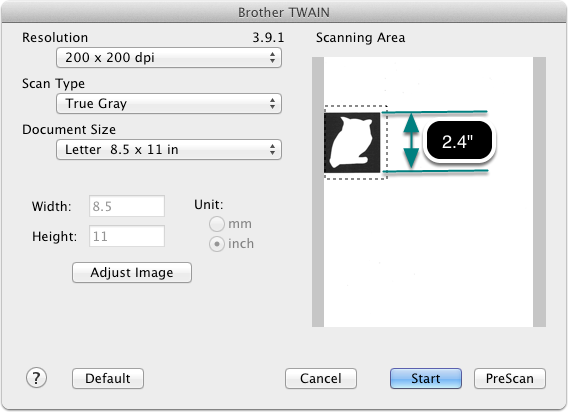
We need 2.4 inches to be the final height, so we don’t want any of it obscured by the edge of scanner. If you are using a taller stamp, turn the stamped cutout 90 degrees. Remember we always want the height of the rectangle as the scanner sees it to be 2.4 inches.
Scan your image to jpeg or png. I use 200 dpi and grayscale, but your default settings are probably fine for this. I have also cropped the scanning area to make cleanup quicker, but this is also optional.
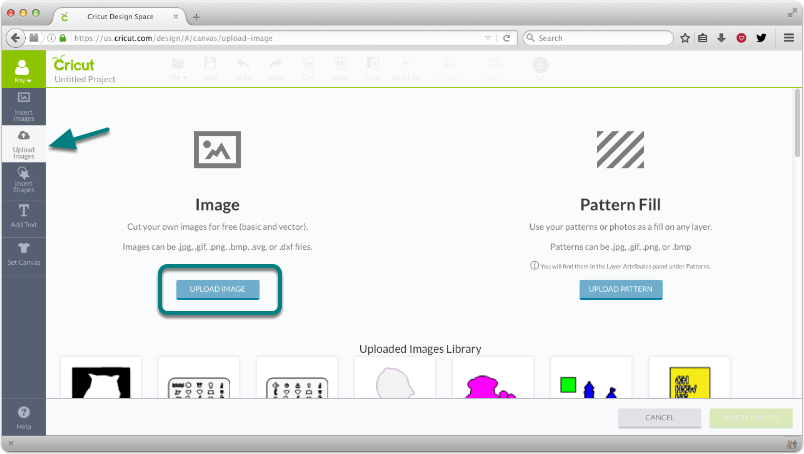
Back in Design Space, Click the Upload Images button in the left toolbar, then the Upload Image button on the left side of the screen.
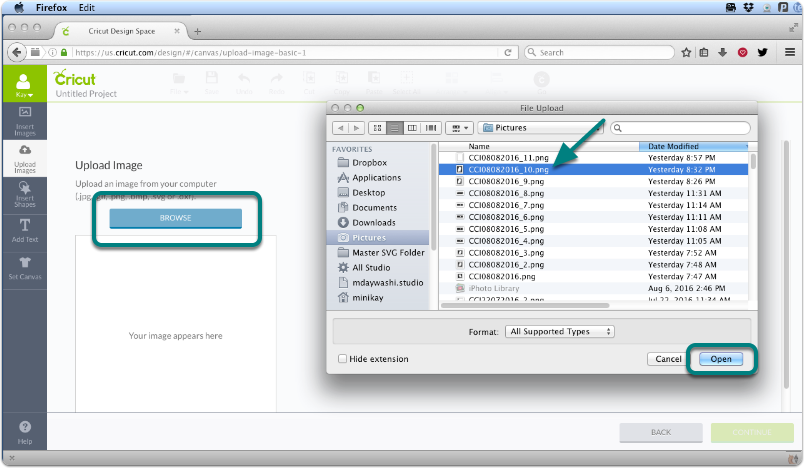
Click Browse and navigate to where your scanned jpg or png is saved, and click Open.
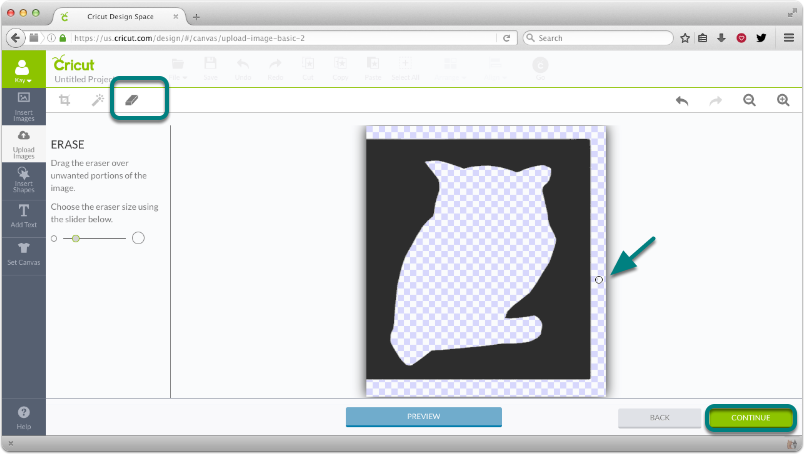
Your image will appear in the cleanup window.

Click the magic wand outside the black rectangle and inside the opening. You will see the white areas replaced by a checkerboard pattern.

Check for any stray marks and use the eraser to remove them. Click Continue.
Click the image on the right to Save as Cut Image, name the file and click Save.

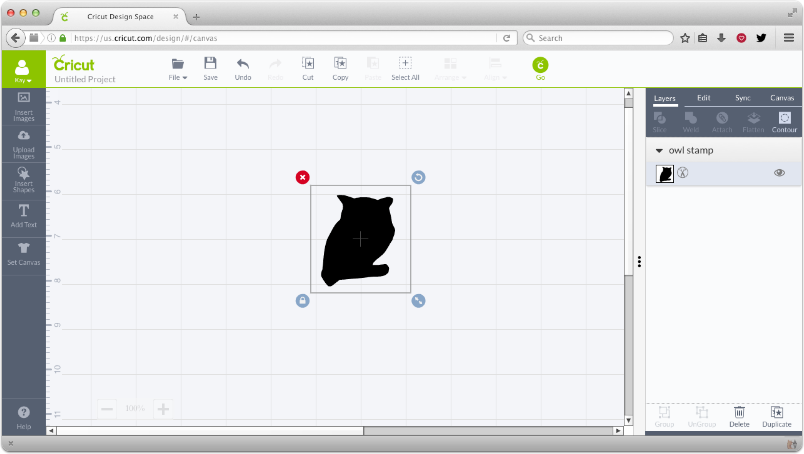
Click the thumbnail for the imported scan (usually on the far left of the first row) and click Insert Images.

Because Design Space always imports images at 2.4 inches, and our image is designed to be 2.4 inches, the image imports automatically at the correct size!

To get rid of the frame around your shape, click the Contour button on the Layers tab
Then click on the area between the rectangle outside the stamp shape until its outline turns light blue then click on an empty area of the canvas.
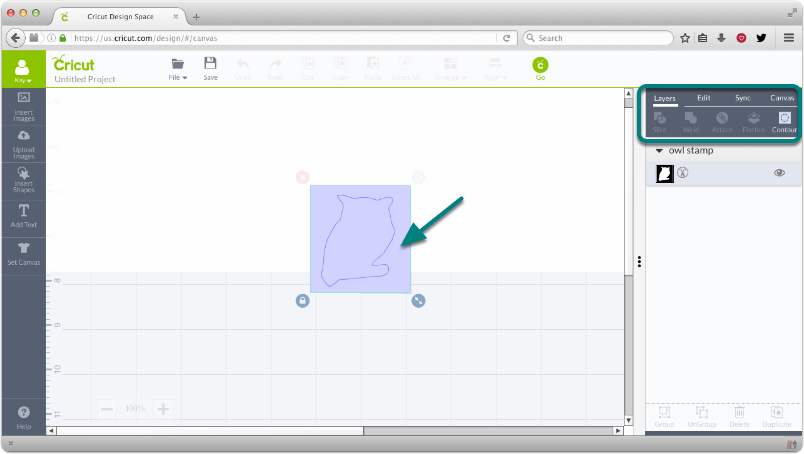
This will hide the outer rectangle, leaving just the perfectly sized outline for your stamp.
Because we scanned the back side of the stamp, we will need to flip the image. To do this, click on the Edit tab, then the Mirror button (specifically the one on the left that mirrors horizontally).

Test the cutout if you like. Your hand cut shape should fit perfectly (or awfully close) inside the outline cut with the Explore.
Save the outline and use it with the hinge method or with SnapMat on the Design Space iPad app any time you want to cut out images that you have stamped/colored/embossed with this same stamp. The same method can be used to create cut files for preprinted items from greeting cards, wrapping paper, etc.
Fortunately, if you need to use a bigger size than 2.4 inches, that only adds a couple more steps to the process. Create and cut your reference rectangle whatever size you need, and after importing the scan, set its height to the same height as your rectangle, with the proportion lock on. So, for instance, if your rectangle was 4 inches tall by 6 inches wide, set the size of the imported scan to 4 inches height. Be sure to do this before you Hide Contour.
Wow, that was a lot harder to explain than it is to do. Hope you’ll give this method a try soon, see how simple it really is, and share it with a friend!
Looking for a higher tech, no scissors method? Here is an Inkscape method from CraftsByToo.
Looking for instructions on making stamp outlines with the Silhouette Studio? Here’s my post on that (no PixScan needed).

I have a Cricut Expression will this program work for me? I have used Design Studio in the past.
No, sorry, you can’t import your own designs with the Expression.
That was fantastic! Can’t wait to try it with some of my stamps. Thank you, from one who hates to fussy cut. Now where to store this information on my computer?
Thank you so much Kay for you detailed and great information!!
I am so glad I ran onto this I love my Explore but was thinking about spending the money to get the brother scan n cut but now I won’t need to. Thank you so much for sharing this. Can I contact you if I have any questions
Sure, use the contact form to reach me with any questions you have.
This is brilliant!!! Thank you!
Hi Kay,
You recommended this to me and I tried it today. It worked but of course you knew that would happen! Thank you so much and also for recommending the Fontlab Pad. It is so easy to use when I just have a phrase to do for a card. You are a treasure!
Bless your heart! Thank you for sharing these instructions! I have spent days trying to figure out how to cut a stamped shape without a little shadow being cut! Thank you a million times over!
I love this video helped me so much. One question though, having issues with Snapmat feature and when it cuts, it is totally off from the aligned images.
Turns out SnapMat is not accurate enough unless your stamps are very large. Margin of error up to 3mm, per Cricut.