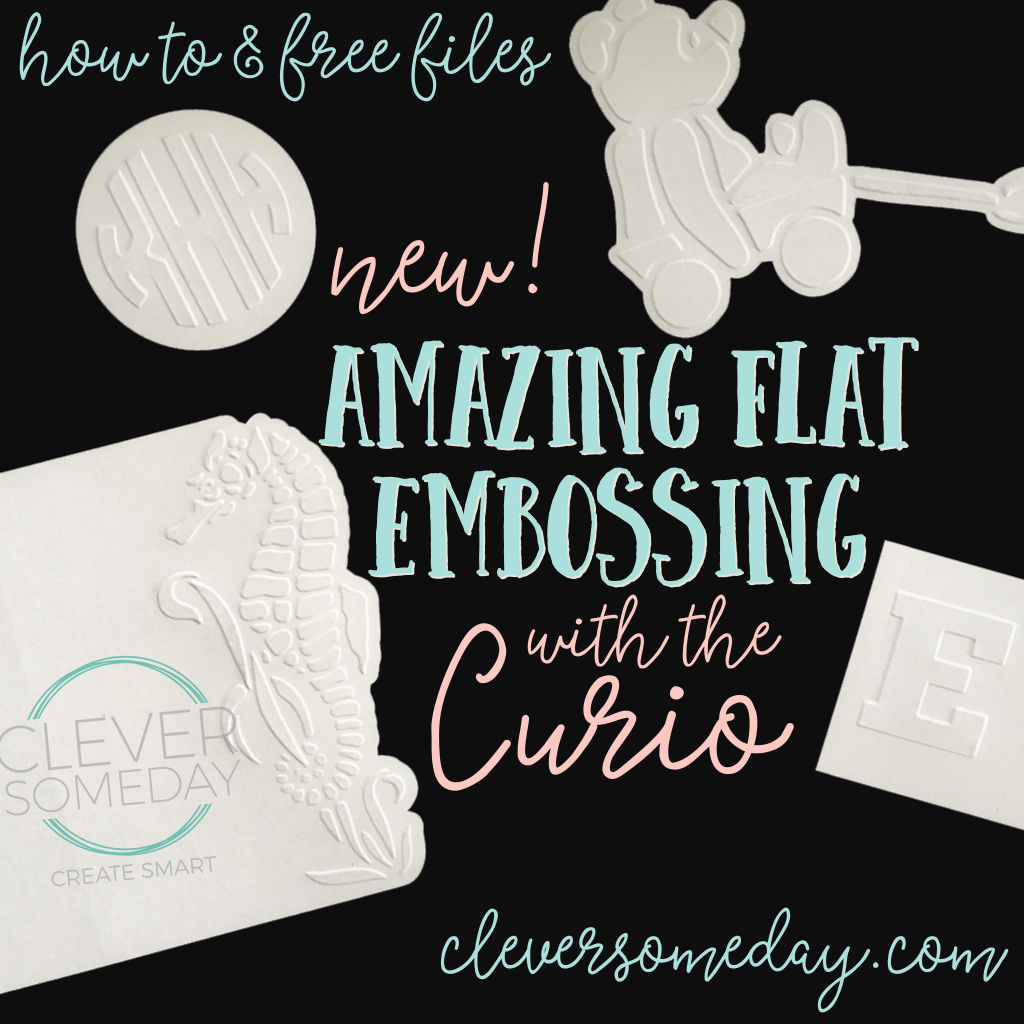

So excited for the big reveal of my new technique for embossing with the Curio. You aren’t going to believe how well it works and how great your projects will look. If you ever “dry embossed” with a brass stencil, a stylus and a light table, then you’ll understand what is involved here. We’re going to put a stencil under our paper and let the Curio do the embossing for us.
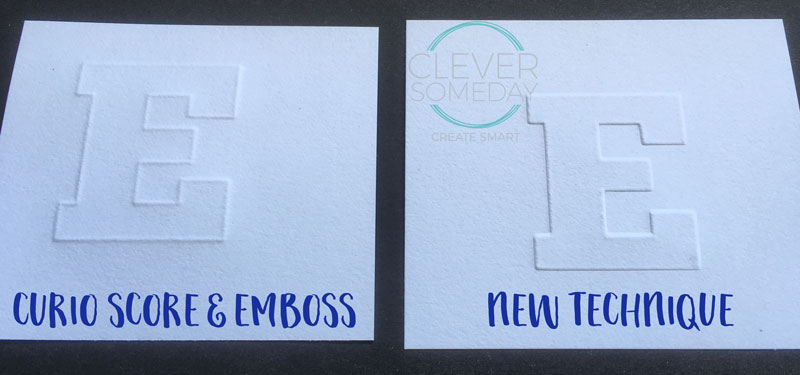
2 things are key to this … the perfect path, in the perfect spot. Creating the path is pretty simple in Silhouette Studio using the Offset feature. Landing that path exactly on top of the stencil is a little trickier, but the Curio is really perfect for this, because of its base and platform system.
I’ve made a detailed video for you,
but I’ll rough out the process here, too, and include all the settings and other resources for handy reference.
What you need:
-A Silhouette Curio machine (great prices lately)
–Curio fine embossing tip (comes with the machine in most cases)
-1/4 inch and 3/16 inch hole punches or a Cameo machine (punch recommendations and Cameo file here)
-stencil media … I recommend plastic poster paper from Michaels or Silhouette Chipboard
-media to emboss … I recommend Neenah 67 lb Exact Vellum Bristol
-intermediate or advanced Silhouette Studio and Curio skills. This is not a difficult process, but it does require you to have mastered all the fundamentals.
Prepare the file
Tip: If you want to skip this part for now, I’m sharing the file from the video so you can practice with that.
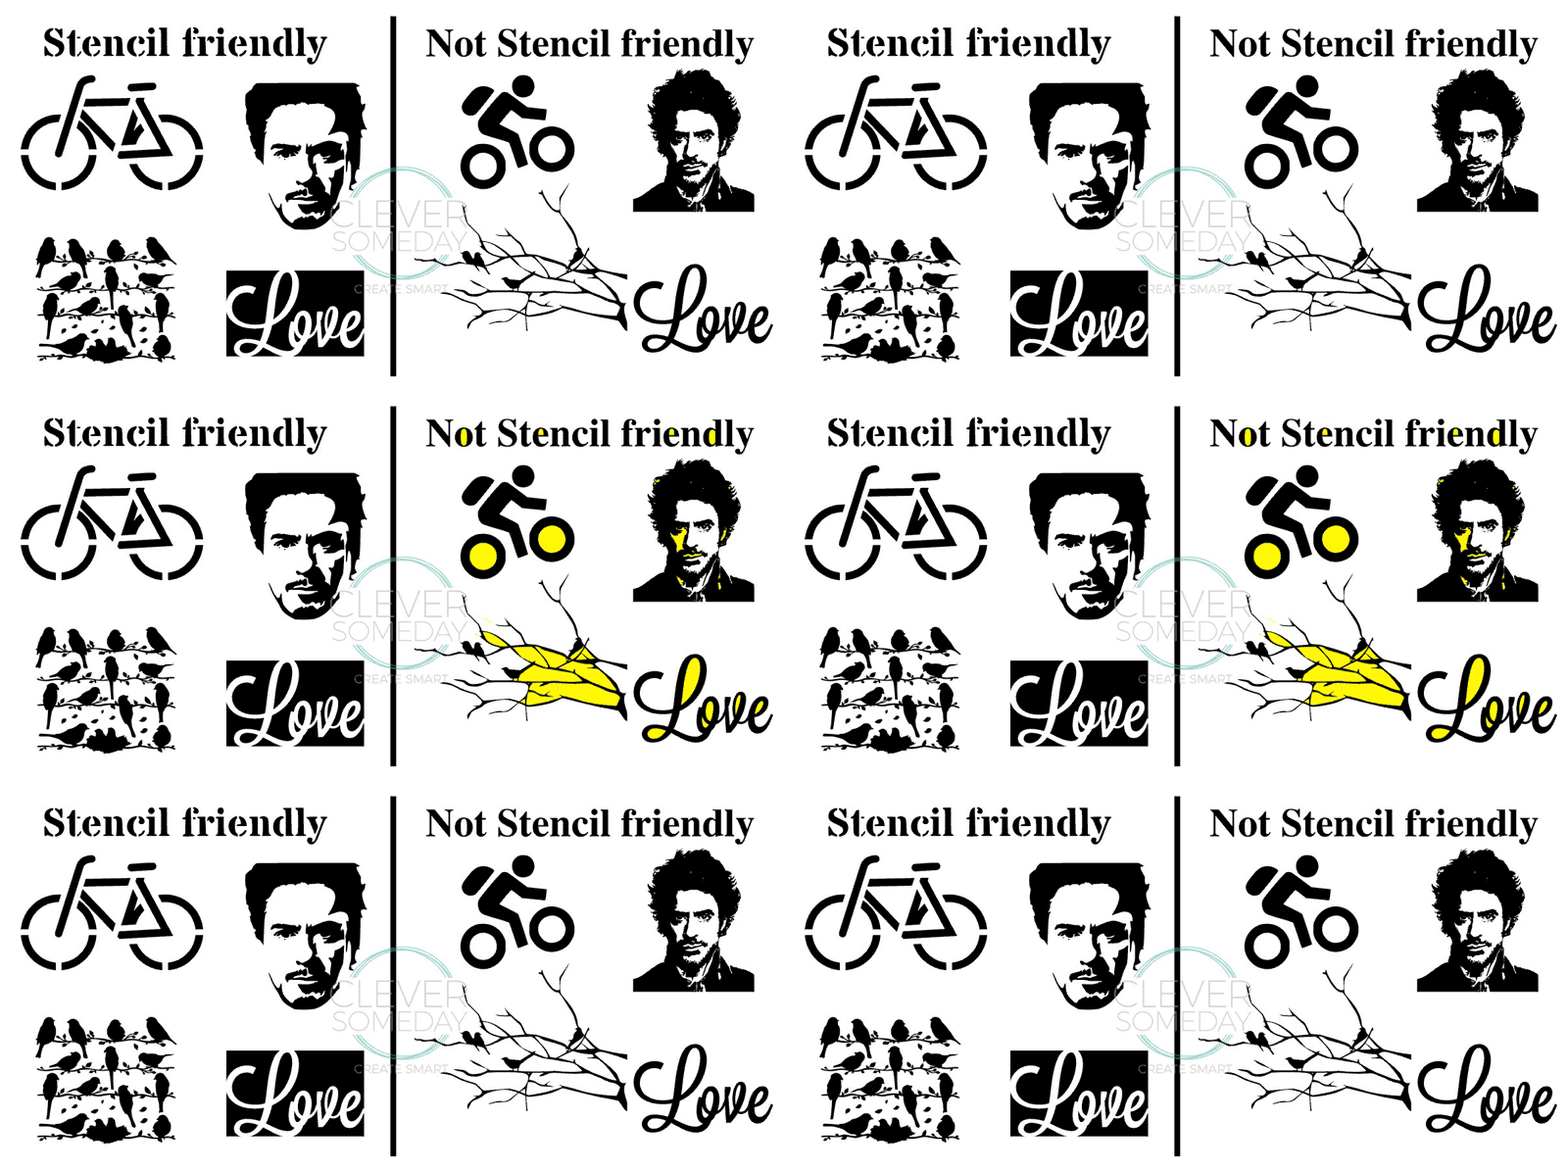
-Choose a stencil image. Because we want a one piece reusable stencil, there can’t be any trapped white space. I made a little visual to help you with this.
The dingbat fonts I show in the video and use on the project are here:
In many cases, you can create your own stencil friendly designs from an existing font or image. Terrific tutorial by the fabulous Nadine Muir here.
-Bring your stencil image into Silhouette Studio and trace if necessary.
-Lay out your design as you would like it to appear on the embossed page. Important: Size to final dimensions.
-Set the stencil cut line to red if its not already.
-Apply an inner offset of .020 inches (critical for success) to your stencil and set the line color to blue.
-Add a cut line if desired (I use a green line for this). Video on how I created the cut line for the card is here.
-Mirror the design with respect to the page. My quick method below:
-Draw a dummy shape (like a rectangle) wider than the page.
-Select the dummy shape and Object>Align>Center to Page.
-Select the dummy shape and everything on the page and Object>Mirror>Flip Horizontally.
-Delete the dummy shape.
-Save the file. (Lock the layers if you have Designer Edition.) It’s very important that you don’t make any changes to the file after the stencil is cut.
Prepare the media
-Cut the stencil media and the media you will be embossing to 10-1/16 inches x 7-5/16 inches
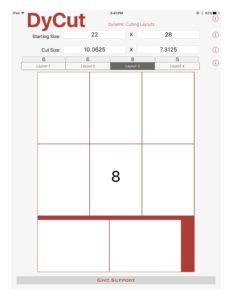
Tip: I use a free iOS/Android app called DyCut instead of doing the math. Here’s what it told me is the most efficient cut layout for the poster board.
-Punch the pilot holes in their proper size/locations. The whole process rests on a good fit so do this part carefully. Full tutorial on how to do this, recommended tools and a free cut file if you want to use your Cameo for the punching instead.
How the trimmed and punched media for the stencil and for the embossing look
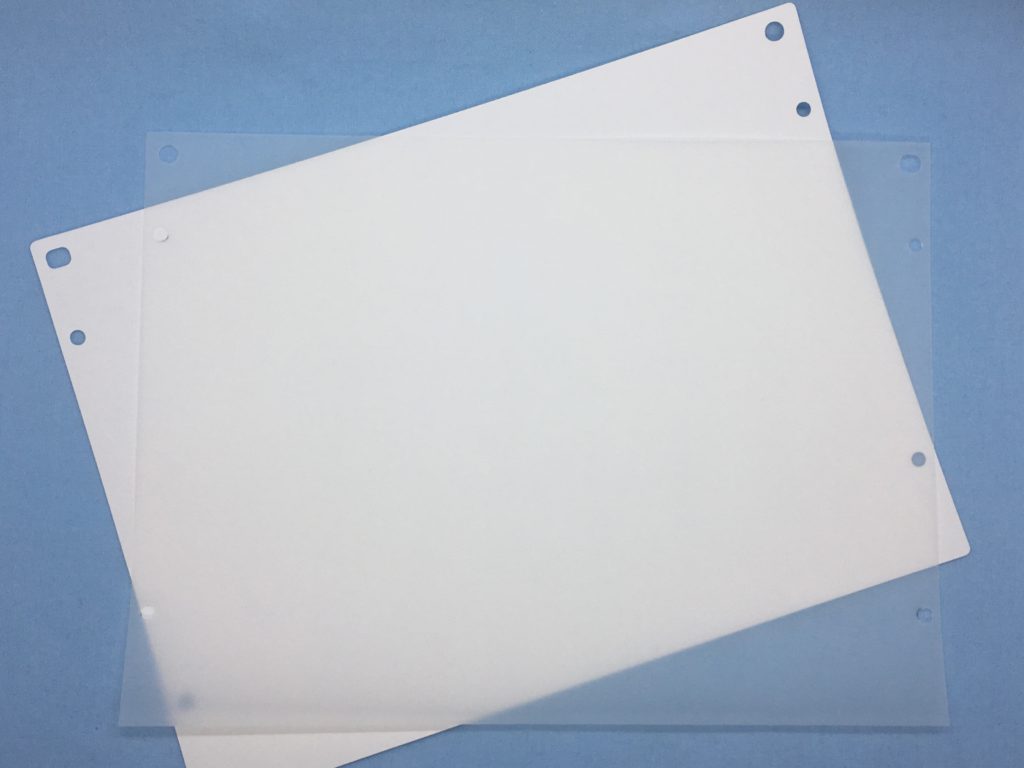
Cut the stencil
-Load your Curio base with the following stack for the stencil cutting step

-Under Cut Settings>Advanced>Cut by Line Color, uncheck all but the red and make sure that the corresponding red tool circle is on for the red row. Verify that only your stencil cut line is highlighted in the Cut Preview.
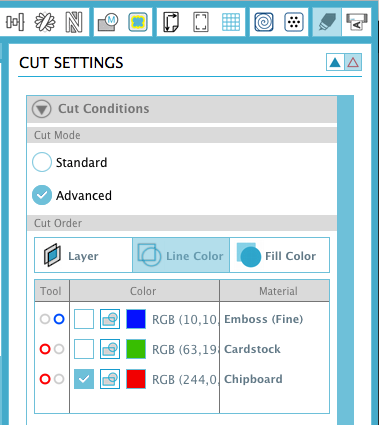
-Select appropriate settings for the red row based on test cuts of your media with your Curio.
Here are the settings I use for plastic poster board with the above stack
blade: 4 in red (left hand) holder
platform: 5
speed: 3
thickness: 30
double cut on
overcut at .2mm, .2mm
Here are the settings I use for Silhouette Chipboard with the above stack
blade: 3 in red (left hand) holder
platform: 5
speed: 4
thickness: 20
double cut on
overcut at .2mm, .2mm
-Verify that the blade, at the proper setting, is fully seated and locked in the red (left hand) holder.
-Send to Silhouette
-Remove the mat and stencil, weed the stencil and clean any extra pieces from the mat.
How the final stencil looks
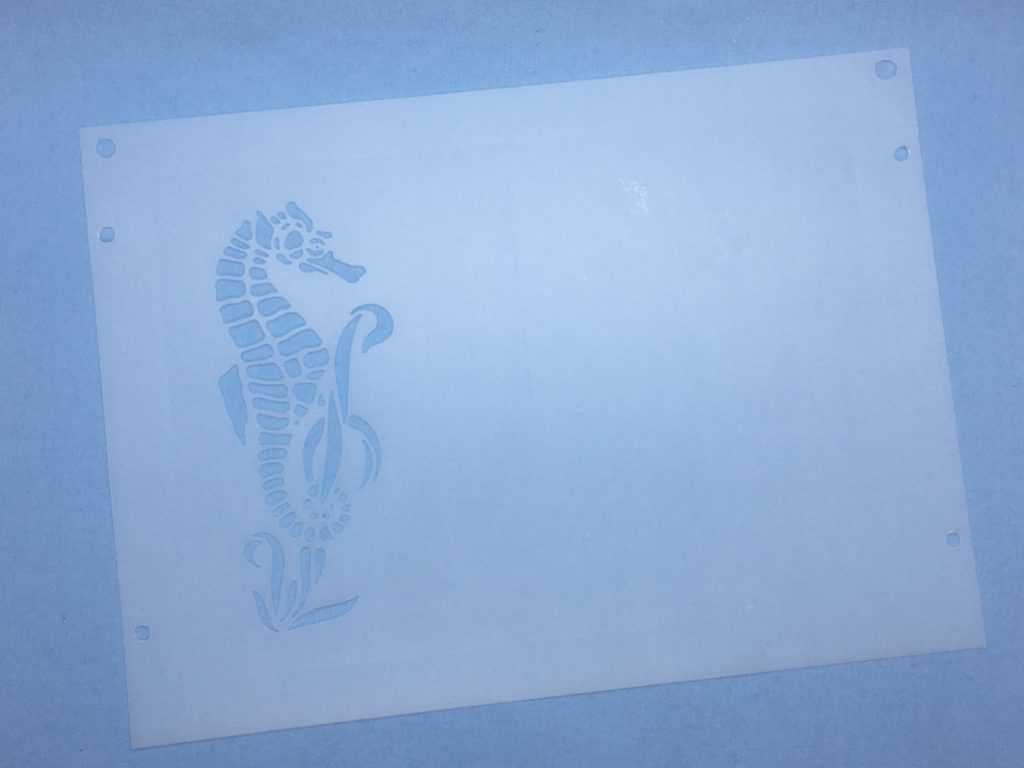
Note that these stencil-making steps only have to be done once for each design, and that the stencil is reusable for as long as you have the corresponding cut file.
-Write the filename on the stencil for easy reference.
Tip: You can use the empty space on a stencil for more designs, so there can be more than one file per stencil.
Emboss the design
-Load your Curio base with the following stack for the embossing step

How the stack looks after loading the stencil back on.

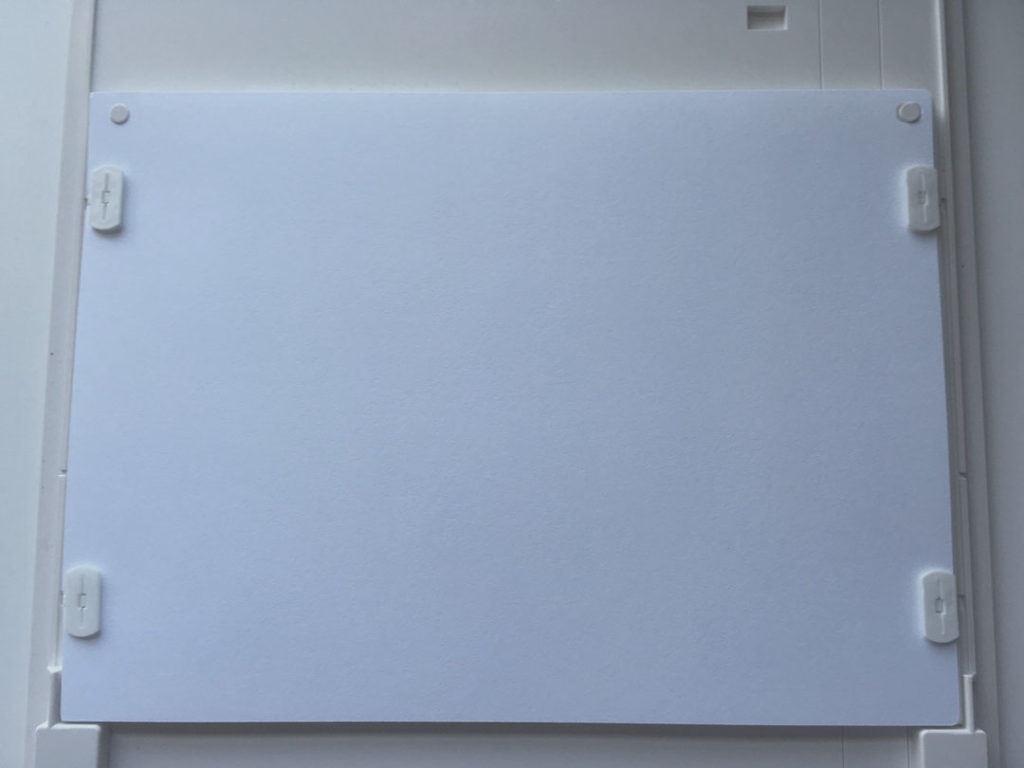
How the stack looks after loading the embossing media, ready to load into Curio.
-Under Cut Settings>Advanced>Cut by Line Color, uncheck the red, check the blue and and make sure that the corresponding blue tool circle is on for the blue row. Verify that only your embossing line is highlighted in the Cut Preview.
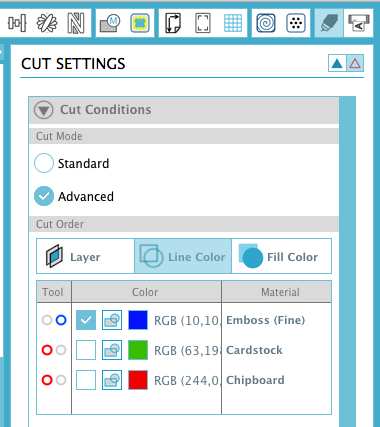
-Select appropriate settings for the blue row based on test embossing of your embossing media with your stencil media on your Curio.
Here are the settings I use to emboss Neenah 67 lb Exact Vellum Bristol with the stack above and plastic poster board or Silhouette Chipboard for the stencils
tool: fine embossing tool (clear plastic housing) in the blue (right hand) holder
platform: 5
speed: 5
thickness: 33
double cut on
-Verify that the fine embossing tip is fully seated and locked in the blue (right hand) holder.
-Send to Silhouette
How the completed embossing (actually debossing at this point) looks
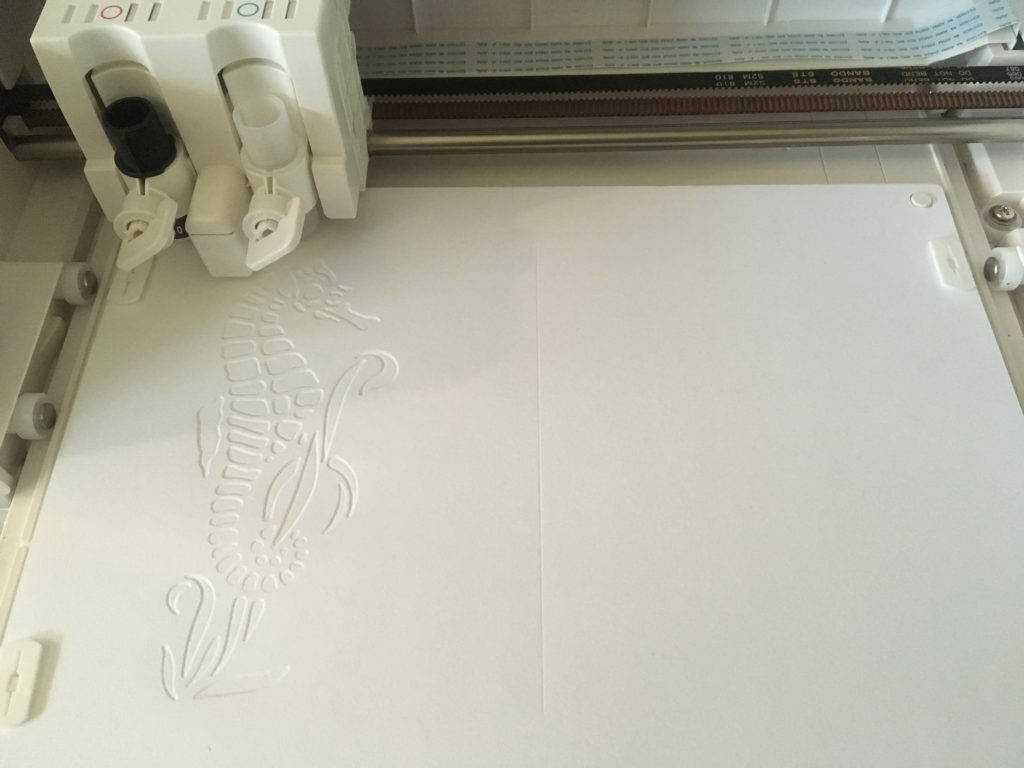
-Remove the embossed sheet and the stencil. Put the stencil in a safe place.
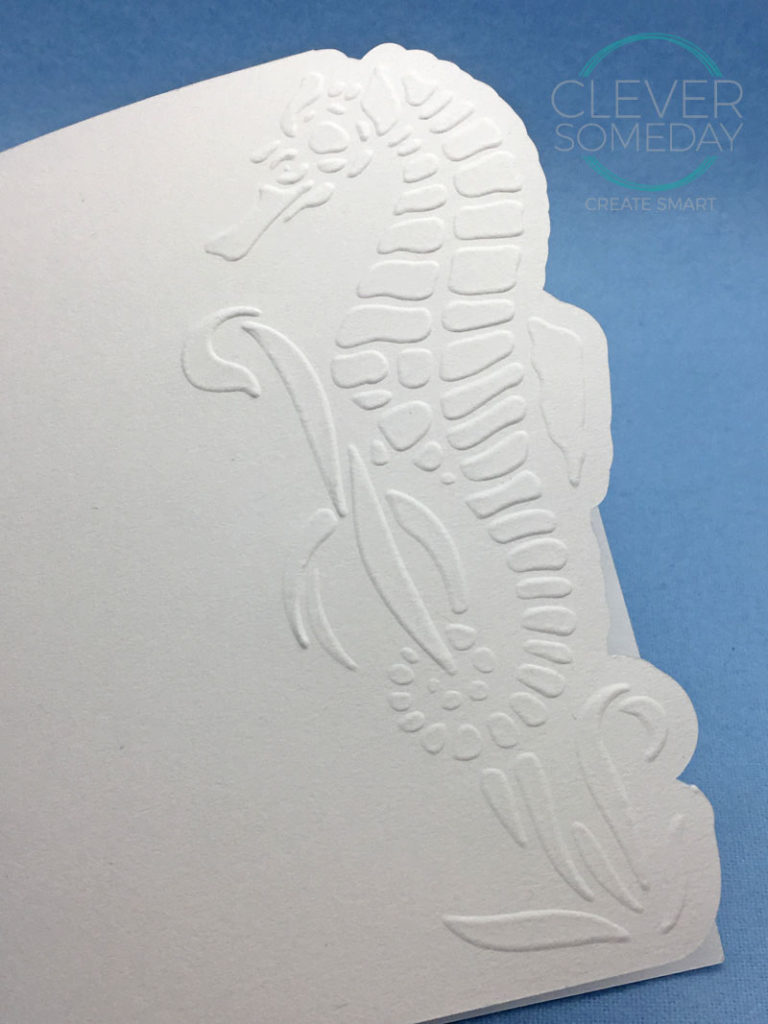
How the embossing looks like when flipped over. (It’s OK to peek, but be sure to turn it back face down for the last pass.)
Cut the design
Tip: you do not have to cut around the design with the Curio, though it is very convenient and accurate to do so. You could use paper trimmers, punches, thin dies, or your Cameo with PixScan instead.
-Load your Curio base with the following stack to cut around your embossed design

-Under Cut Settings>Advanced>Cut by Line Color, uncheck all but the green, check the green, and make sure that the corresponding red tool circle is on for the green row. Verify that only your cut line is highlighted in the Cut Preview.
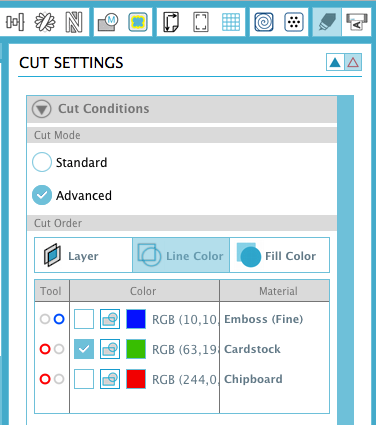
-Select appropriate settings for the green row based on test cuts of your media with your Curio.
Here are the settings I use to cut Neenah 67 lb Exact Vellum Bristol
blade: 2 in the red (left hand) holder (do not forget to physically adjust the blade!)
platform: 5
speed: 4
pressure: 20
double cut
overcut at .1mm, .1mm
-Verify that the blade, at the proper setting, is fully seated and locked in the red (left hand) holder.
-Send to Silhouette
-Unload the mat, admire your work, embellish as desired, or use as an embellishment.
Download the seahorse card file here.
If you like this technique, please share it with your friends who have, or are thinking of getting a Curio! Pins, tweets, likes and comments are always appreciated.

Thank you so much for this excellent tutorial, and in particular for the Studio file for the Curio mat. I don’t have a Cameo, but I do have the larger Curio base, so I was able to cut the embossing template for the 8.5×6 base using the 8.5×12 base. I just used ordinary 200gsm board as both my template and medium, and it made a thin but still noticeable flat emboss. Beautiful! I also tried using cereal box cardboard, with similar success.
I did have a big problem though – I wanted to do a print-and-cut so that I could emboss on top of it and get a letterpress effect, but I had a terrible time getting the print-and-cut from the large base to line up with the emboss on the small base. ie. I would print my design and cut the Silhouette mat holes on the large base, transfer the cut out to the small base and then emboss on top – and the embossing would end up misaligned by several mm!
I ended up minutely tweaking the location of the “grid” outline on the 8.5×6 mat template until it was roughly aligned with where my Curio thought it was. (Which is not the same as where the grid lines are printed on my cutting mat…)
PS: I keep saying “emboss” here where I guess I really mean “deboss”.
I can’t get this to work at all! My blade just gouges holes. I have a new blade and I’ve tried different Thickness & different blade depths. My blade just gouges and starts to ‘Stutter’. I’m using chipboard and have ruined about 10 sheets. I will confess that although I’ve been using my Cameo 2 for over 2 years I’m fairly new to the Curio.
Sorry to hear you are having trouble. Please use the contact form to reach me and let me know exactly what kind of chipboard you are using so I can try to give more specific help.
HI there! I just got my Curio, and I was hoping to create a faux letterpress (debossed) look on a printed piece I’m creating. I’m hoping to do this with text. Do you happen to know if I create a stencil for it, should this process still work? And do you think I can add in printing color first, so that it won’t be a blind deboss? I’m unfamiliar with the cutting capabilities, so I’m not sure how fine this guy can cut smaller serifed type. I imagine I’m hoping to do the impossible, but any guidance would be *much* appreciated! Thank you!
Best,
Candace
You can print with the stencil technique, but its more complicated, and you can’t do fine detail with the stencil method. You can also try the usual method https://persialou.com/diy-letterpress-look-notecards-with-the-silhouette-curio/
Thank you for sharing this great tutorial & detailed steps. I bought everything you suggested… plastic poster paper from Michaels & Neenah 67 lb Exact Vellum Bristol.
I followed your instructions, but mine did not come out as nice as yours even after 4
double passes. I had to hand finish it with my hand embossing stylus to make a deeper impression.
Any suggestions or hints for me to try? I love the concept.
Hi Nelly, Sorry to hear you are having a problem with this. Two things that can cause a poor emboss are not enough pressure or pressing in the wrong place. Common causes of these are the wrong number of platforms, the wrong settings, the wrong offset or a stencil that is not tight enough on the posts so that it slips out of alignment with the emboss. Hard to say which issue you are having. Best to carefully step through the process again, doublechecking everything. That assumes you don’t have pressure issues with your Curio in general.
Hi Kay –
First – Thank you for help and files – You are a great teacher!
I was looking at the information used in the DyCut image layout above…
the picture shows 10.125 x 7.3125 and the text above it is calling out (10 1/16″ x 7 5/16″)
Shouldn’t the measurement for cut size be 10.0625 for 10 1/16″…?
Thank you again for ALL the help – the Curio arrived last night and I knew you would have the best tips on how get it working.
Good eye, Richard! The correct measurement is 10-1/16 or 10.0625. I ran the DyCut model from (shoddy, apparently) memory but fortunately it didn’t affect the results. Best of luck with your Curio. I’m sure that with your attention to detail it will go great!
Thanks for the tutorial! I have been hand embossing for years and was disappointed when I purchased the Curio to partner with my Cameo. Now after watching this, I am getting the results that I want!